Friday, December 1, 2023
In full disclosure, I planned on working on this shoot for only a few hours. Studio sessions are not usually all that time intensive since everything is right there and I can just move over to the computer for editing when I’m done shooting. Studio edits are usually quite quick, but I find myself starting this blog entry around 11 hours after I started this venture. So much for a quick photo shoot! So, what in the world happened? Well, the edits took much longer than I expected thanks to the dust and hair which got into the water. There were also more bubbles in the water than I remembered having to deal with which require some very redundant cleanup for the photos. This still wouldn’t have been all that bad had there only been a few keepers from the batch. I was only expecting there to be a handful, not the 19 keepers I ended up with!
OK, so let’s go back to the beginning of this adventure. I’ve slowed down quite a bit in my trekking here lately. It is just the natural ebb and flow of things as I have discussed. I’ve been happy relaxing in my chair and doing things like getting the fall detail out of the way on the Miata. I haven’t really given photography much thought other than some administrative things like updating the website a bit. Speaking of which, I have published my first workshop of 2024 which will be The Art of Decay, on April 6th and 7th, in East Bend, NC. I’ve also been trying to figure out what is going on with Singh-Ray as I have seen a notification on their website for about a month, maybe more stating that they are not accepting orders at the moment. This has struck me as strange since the holiday season is upon us. With several of my clients looking to add to their filter collections, this has come up in conversation a few times now. I’ve reached out to Singh-Ray by phone and email several times with no response. I’ve asked a friend that I thought might be in the know about things and after a little research he turned up some news. Since nothing is official, I am not going to share what is potentially going on, but I will say that for the time being, it’s no longer feasible for me to represent them. I’m still going to happily use my filters as always because they work, and I really do like them. Without knowing the future of the company, I am not going to recommend their products to anyone else. I’m still happy to talk with folks about other filter options out there if there are questions.
That was a bit of a side-step from the topic at hand. I do apologize but felt that I wanted to get something out there sooner rather than later about Singh-Ray. Since my session today didn’t utilize any filters, I figured this might as well be that time. As you can see, I have been doing quite a bit here with the website over the past week or so. I also went out the other day to scout a location for a client shoot that will probably happen in the Spring. I’m kind of excited about it as I will be photographing his two classics, a ’57 Chevy 210, and a ’66 Chevy C-10. It is not often that I get to photograph these body styles with fresh paint and chrome on them. We are just now starting with the planning stages of things and I’m already getting amped up with ideas. Things like that do tend to get the creative juices flowing, and I even saw some great old vehicles out in the area that I will be shooting the session in.
With rain in the forecast for most of the day today, I didn’t feel like going out and trying to photograph those cars though. Truthfully, I wasn’t really feeling like going out and photographing rust again. I’ve done plenty of that here lately and was ready for something a little different. I didn’t know what that was going to be though. I did recall that a couple of evenings ago, I had watched a video on YouTube about a technique that I had done probably back in 2008. It was a technique that I picked up from reading a book about different photo projects that you could do at home. The technique was dealing with how to photograph water and oil by using reflected colors. The premise was simple enough because you would use a little bit of oil in a bowl of water. The two substances would not mix, so you would be able to show the different shapes by moving the oil around. The colors came from colorful paper placed below the bowl and then lit independently.
The first time I did this, I used a Pyrex casserole pan elevated by some books. I slid a Capri Sun box underneath and lit it with a lamp. I didn’t recall it being overly complicated at the time, but never bothered to go back and do it again. After seeing the YouTube video, I started really wanting to try it again. I’m obviously in a much better place to be able to photograph this type of photo after like 15 more years of experience. If I’m not mistaken, the first time I tried it, I used my original 24-70mm lens which was not ideal for this, but it was the best macro option that I had at the time.
These days, I have a dedicated macro lens for my portrait work. The RF 100mm f/2.8L is a stellar lens which I’ve used in a studio setting before when I have done smoke photography. This is the lens that I would need to use for doing the water photography. That forced my hand to use the EOS R5 which I usually reserve for my portrait work, but there is no adaptor for the RF mount to EF so that the lens would work with my 5DS R. Fortunately, I enjoy working with both cameras, so this was not a problem at all. In fact, I was able to find a hidden benefit to the camera change with the cleaner high ISO performance. This would allow me to work at a higher ISO and use constant light instead of flash. I had just the tool, and have been waiting for a good opportunity to use it. I picked up a Godox LC 500 light stick some time ago because the deal was really good on it. The plan was to use it for location boudoir sessions to add a little light without having to set up strobes. Those clients fell through, but I still had this great tool at my disposal. Being able to set up the exposure and lock it in while being able to see how the photo was going to look was a big help for this process.
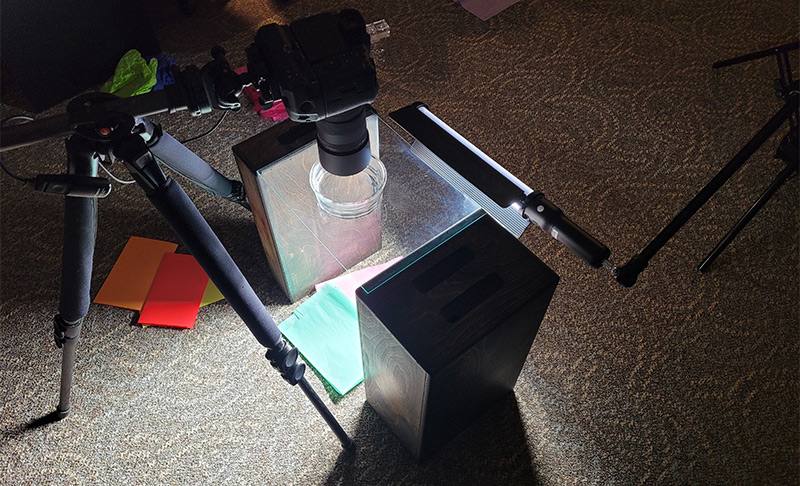
You can see how I set the whole thing up in the photo above. I used two apple boxes to suspend the glass out of an old frame high enough to really blur the lines of the paper I was going to use for the colors in the images. The bowl was a basic clear bowl with no logos on the bottom. This was filled with about an inch of water to which about a tablespoon of coconut oil was added. The camera was mounted to my trusty tripod and the neck was extended over the bowl so that I could get the camera perfectly level for a good depth of field. For simplicity, I used my cable remote for the camera, so I didn’t have to touch the camera at all after I got it set up. The Godox light was suspended by one of my boom stands which allowed me to position it just right for my needs. The only thing left was to place a pair, or trio of colors beneath the clear surface and get the camera focused on the top layer of water. It really was that simple.
I did the initial stir of the solution and got the focus dialed in. It was a little more difficult than I expected because the electronic focus on the RF lenses is still odd to me when trying to manually set the focus. It just takes a little bit of practice and I had to rely on the focus aid to help a bit as well. Once I had it locked in, I didn’t touch it unless I moved something or had to change out the water. I wasn’t expecting to have to change out the water, but I did rather quickly. I wasn’t sure how much oil to put in the water, so I just added and added waiting for it to get to the look that I was wanting. I missed that moment because before I knew it, I had too much oil in the bowl. I was planning on that eventuality, so I had brought down some dish soap which should break the oil up. At least that was a tip that I had heard when doing my current research. I dripped a single drop into the bowl and it spread the oil out perfectly. I stirred to get the oil to come back into the frame, but it was now afraid to do anything but sit around the edge of the bowl. Not wanting to fight with this anymore, I pulled the bowl out and rinsed it before starting the process over again.
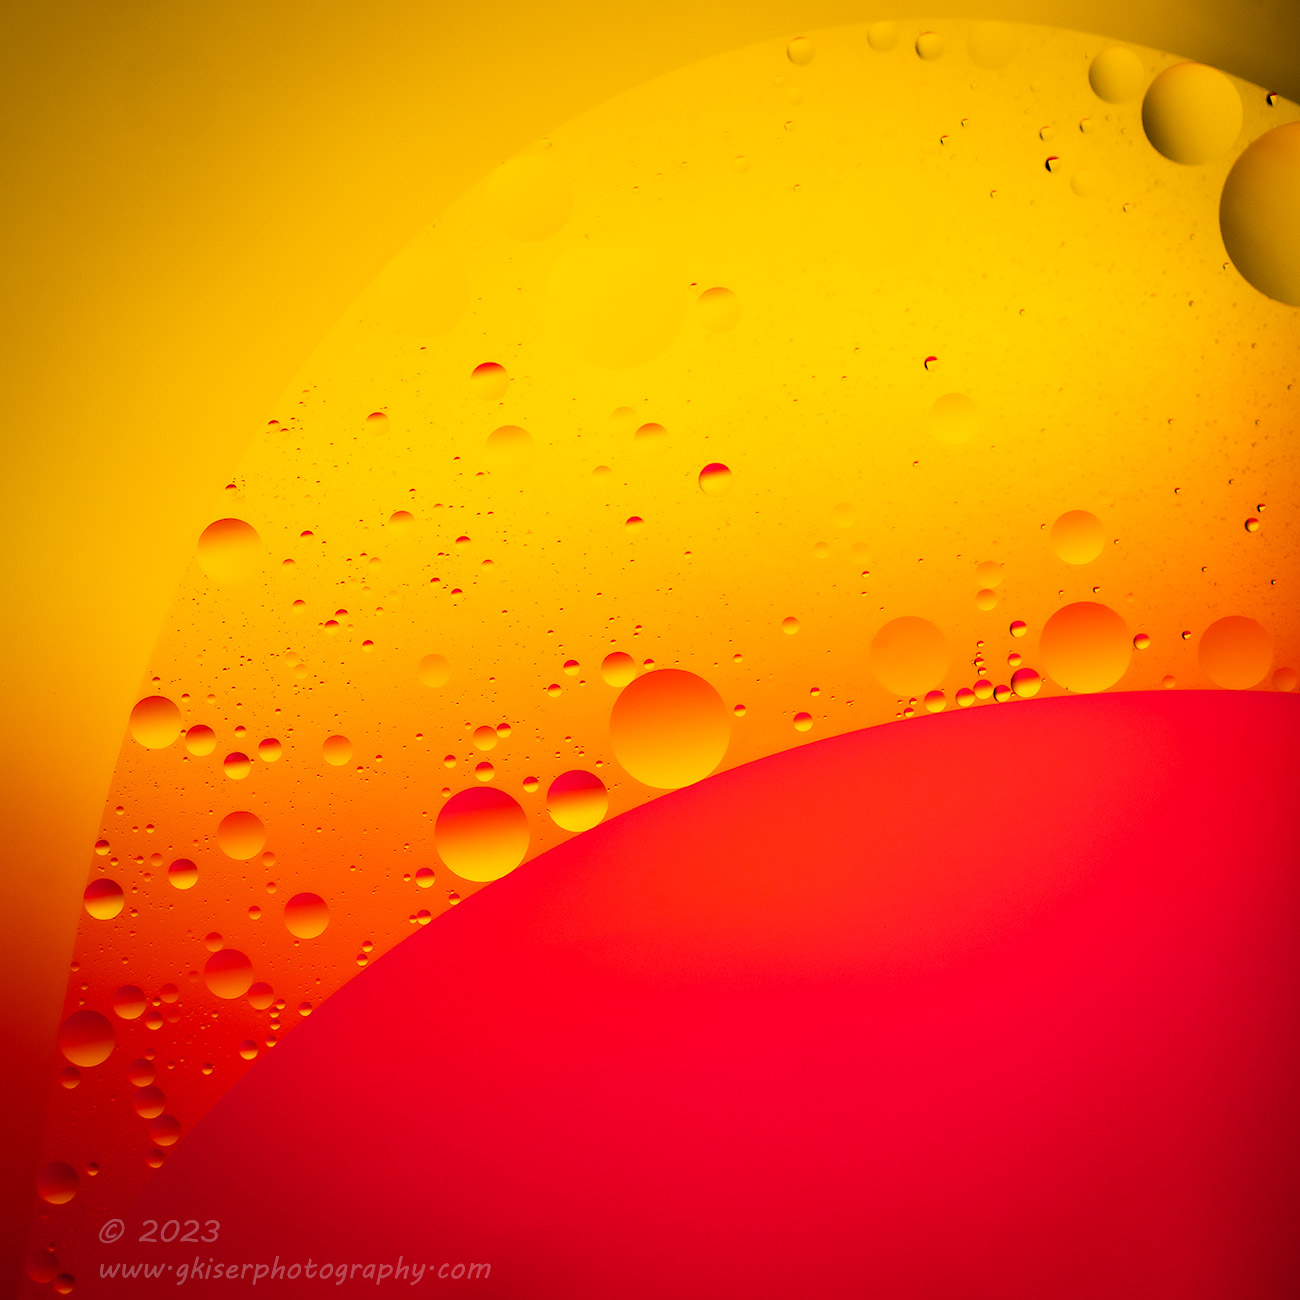
Because the bowl had moved, and the water level changed, I had to go through the focus once again to get things set up. This time, I put less oil in the water and just did a lot of stirring to get the oil to change shapes. I had remembered the oil going much slower when I had done this before, and the video that I had watched showed some very delicate movement to get the oil into specific shapes. That wasn’t happening here for some reason. If I moved slow, the oil would just reconstitute itself quicker than I could get the straw out of the water. My only option was to move the straw quickly in the water doing up and down, side to side, and circular movements to arrive at the shapes that I was wanting. It was certainly not as easy as I remembered it being and was nothing like I had seen on the video. Regardless, I was making this work and the photos that I was starting to see on the image review were looking quite good. As with most things in photography, you just have to play around with it until you land on what works best for you.
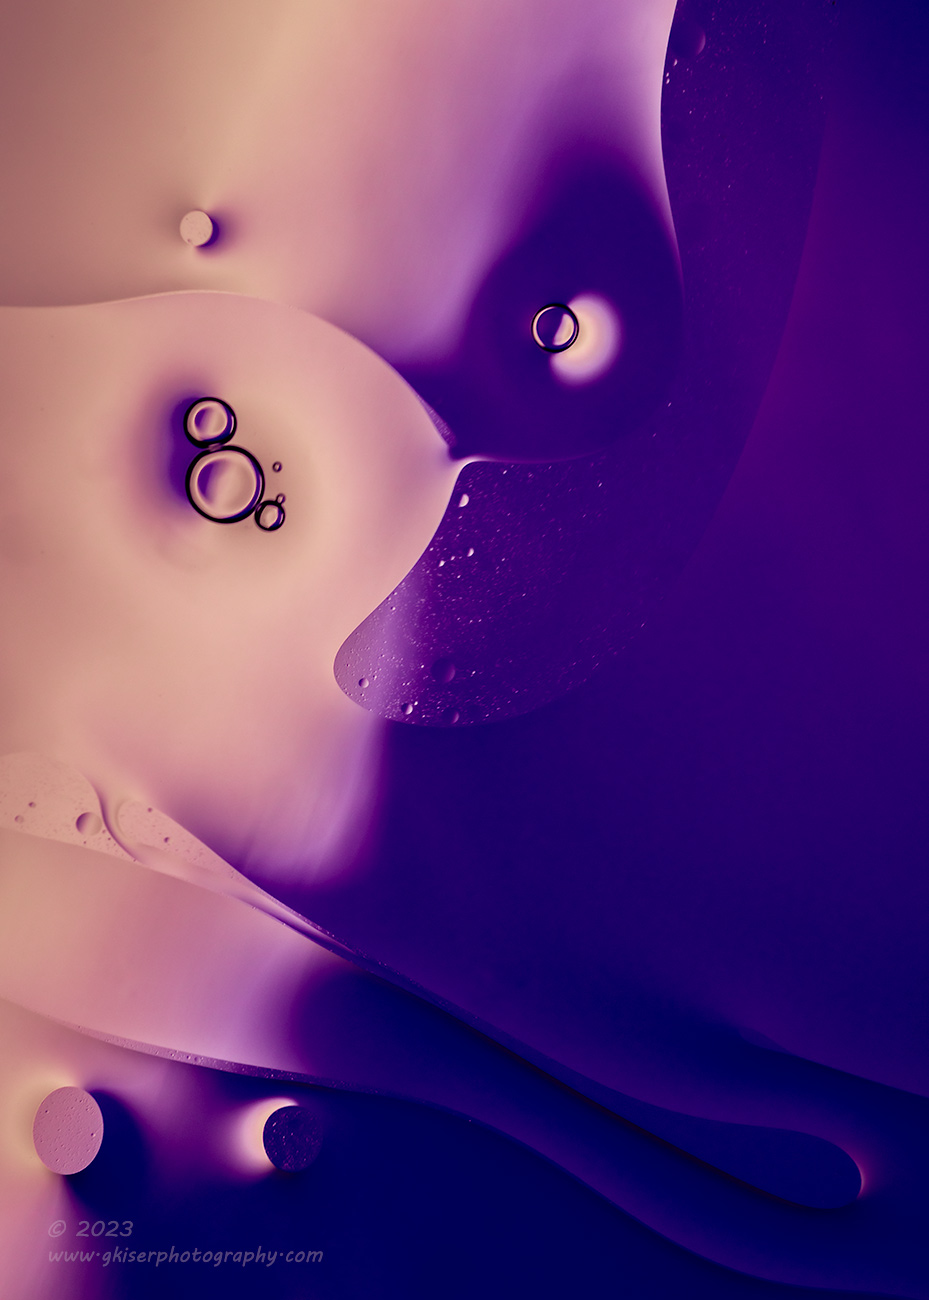
As I mentioned before, when I did this technique years ago, I used a Capri Sun box. it was blue, red, and yellow with designs built in. It was effective and the colors all went together well. This time, I wanted to do something a bit different with the colors. I went through some of my paper stock that I had in the desk and found some colorful sheets that consisted of red, orange, yellow, and white. That would get me started, but I needed to find other color options as well because I knew that I wanted to go cooler in tone for some of the photos. What I found were some tissue paper scraps that we had with the gift-wrapping supplies. I pulled out a green, blue and a pink from that pile of tissue paper. I still wanted to find some cyan to add to the collection as well which is where Toni started helping me look. She found some of her new tissue paper stock that had some cyan sheets as well as a purple one with a different shade of green than what I already had. I collected all of those and had plenty of options for different color combinations once I got started.
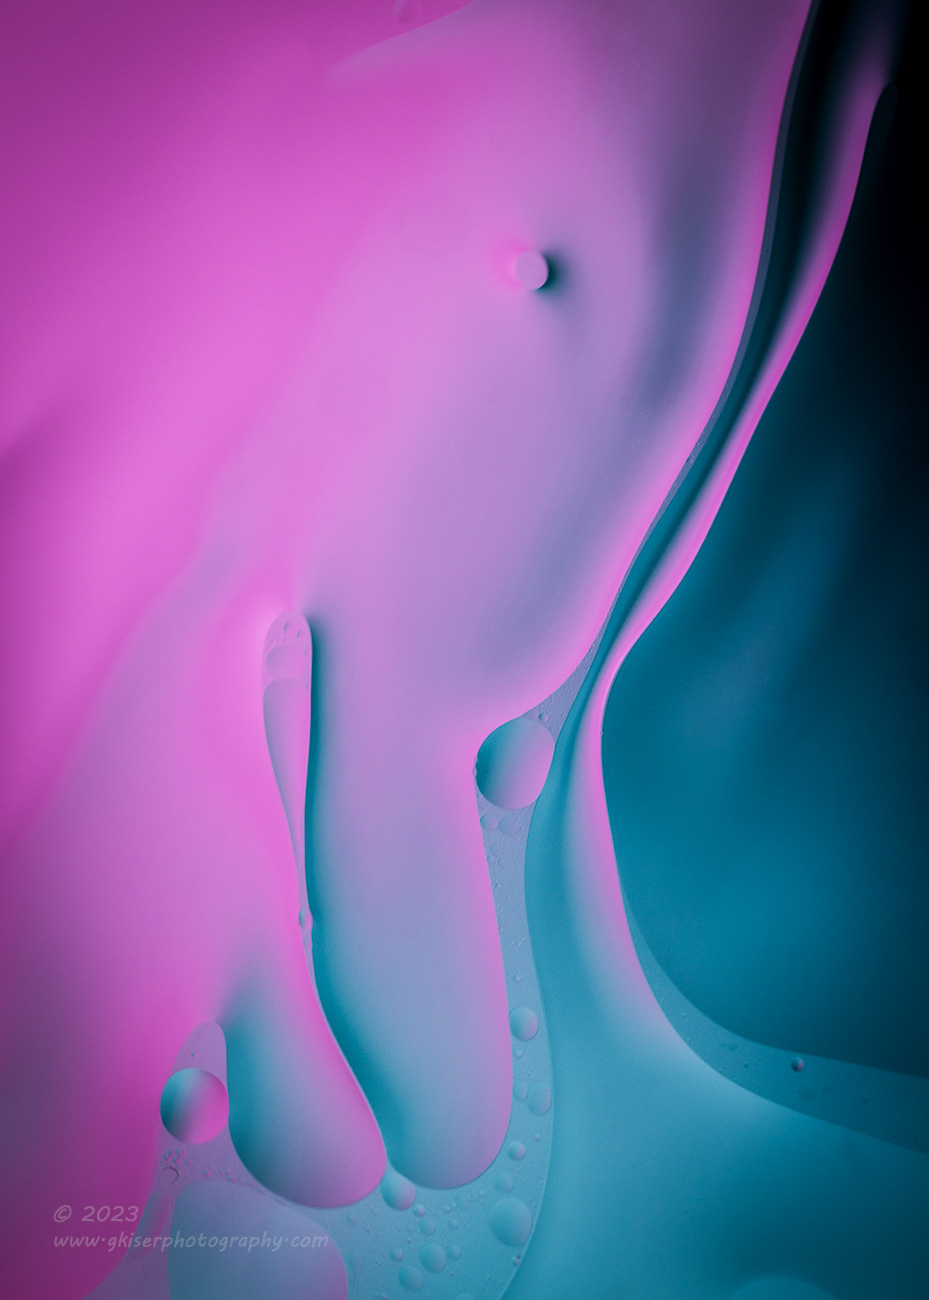
The oil was something else that I changed up a little bit from how I did this the first time. I used what we had available which was your standard vegetable oil. This worked well, but this time I wanted to get something a bit more color neutral so that I didn’t introduce any color casts to the scene. The clearest oil that we had was some coconut body oil which was nearly clear. It was a very light oil and was easy to dribble into the water. I’m wondering now that things are all done if this oil might have been a bit too light which caused the issue with the working time. The vegetable oil was a bit thicker and I think moved slower in the water. I don’t remember any color casts with that oil, so I might want to try that the next time I do this technique. It really is the only difference that I can think of when it comes to how the oil reacts in the water. This worked, but required a lot more effort from me than the other attempt, at least according to my memory.
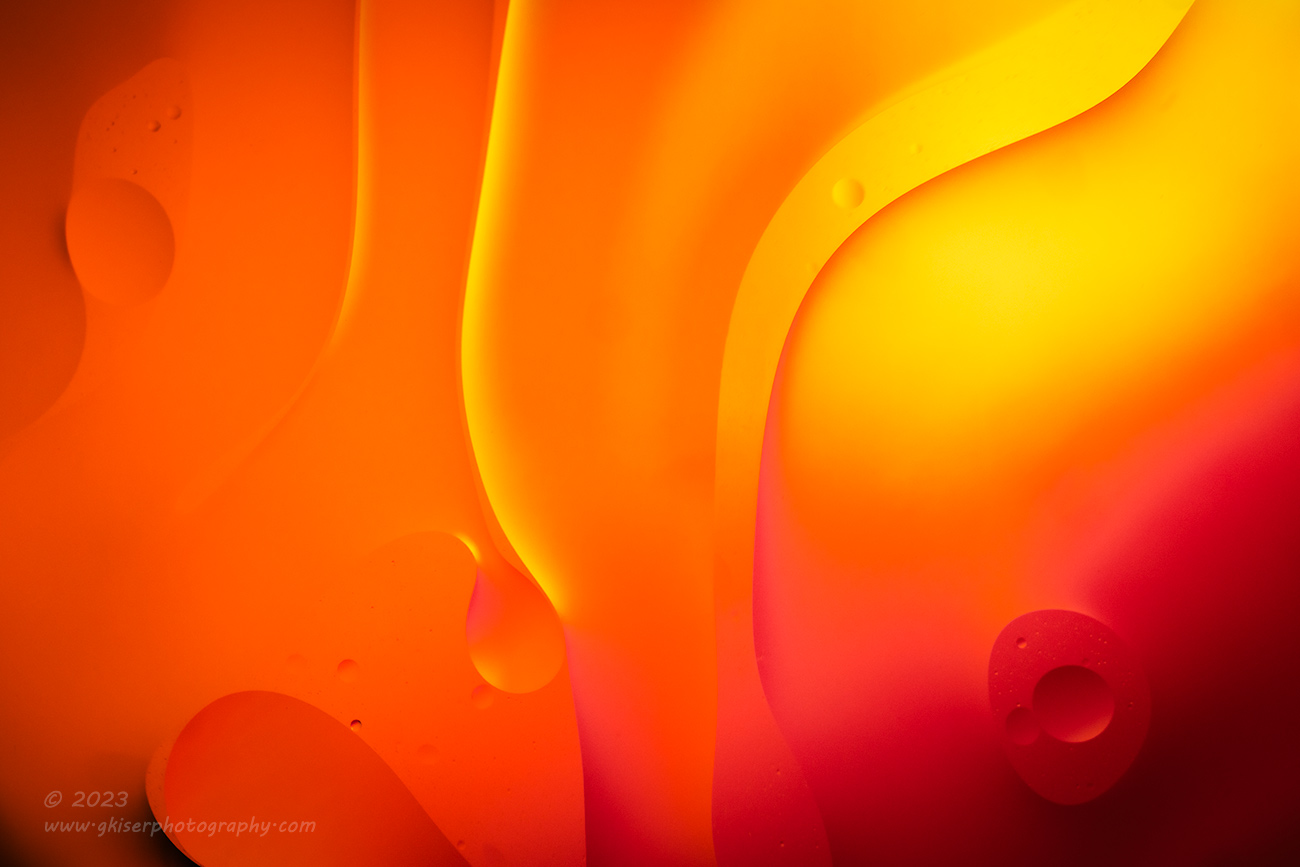
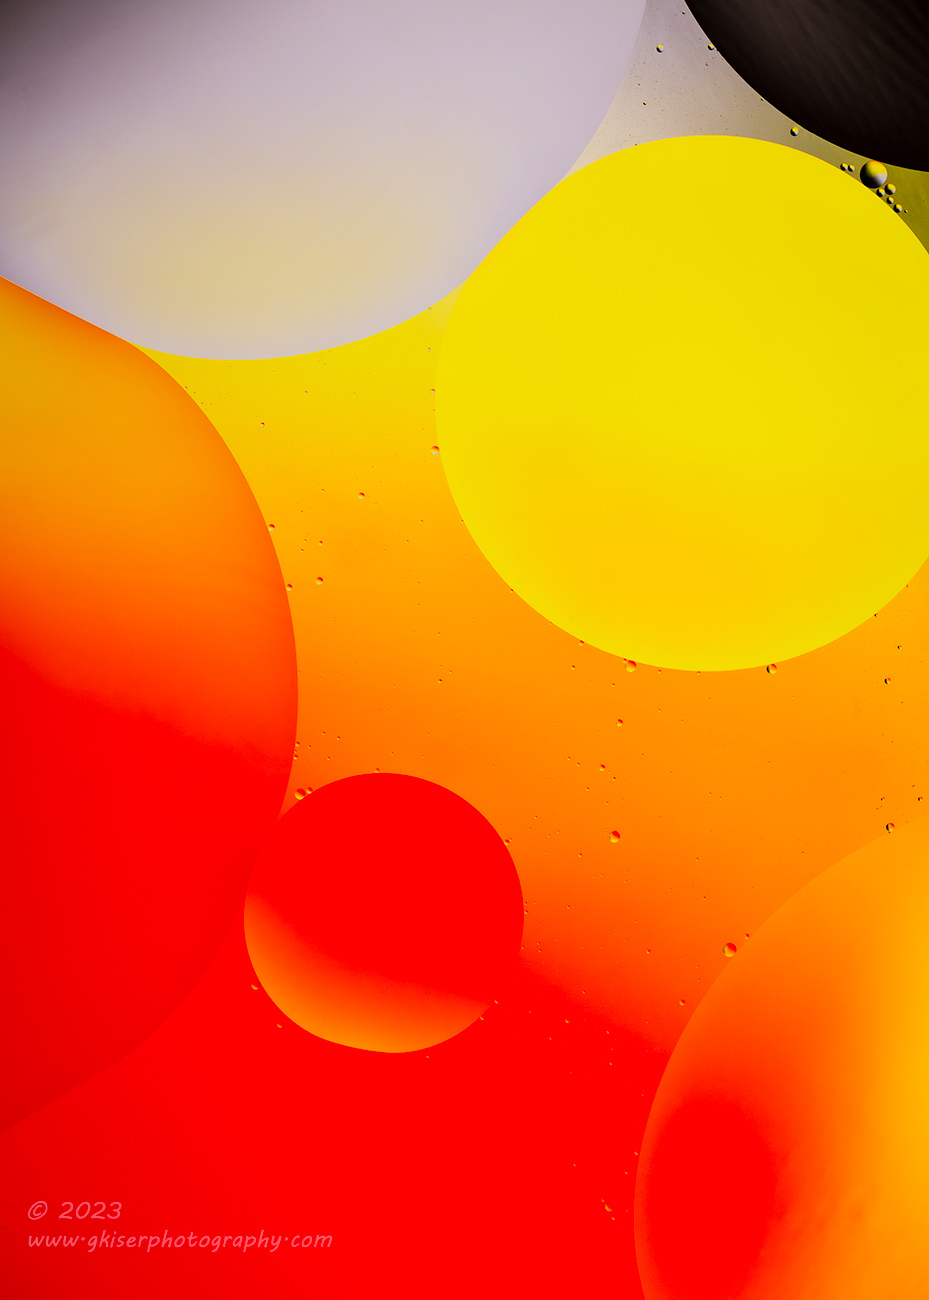
Once I had the oil figured out, I started to work through the different color combinations. I would chose two or three colors to introduce beneath the bowl which would then give me a color pallet to the shapes and textures that the oil introduced. It was a great way of making a huge change to the photo without messing with the camera or the focus plane. The benefit of having the bowl so far above the paper was that by using a moderately shallow depth of field, I could completely blur the color layer while keeping the water and oil in focus. If I had placed the bowl right on the color, you would be able to see the dividing lines of the paper and the color change would be really abrupt. By using the distance to my advantage, I could get a very gradual transition of colors so that the hard lines of the shapes in oil stayed the primary subject. It was certainly effective in doing just that, even at f/4-5.6 which was where I worked most of the time depending on how things were looking in the image review.
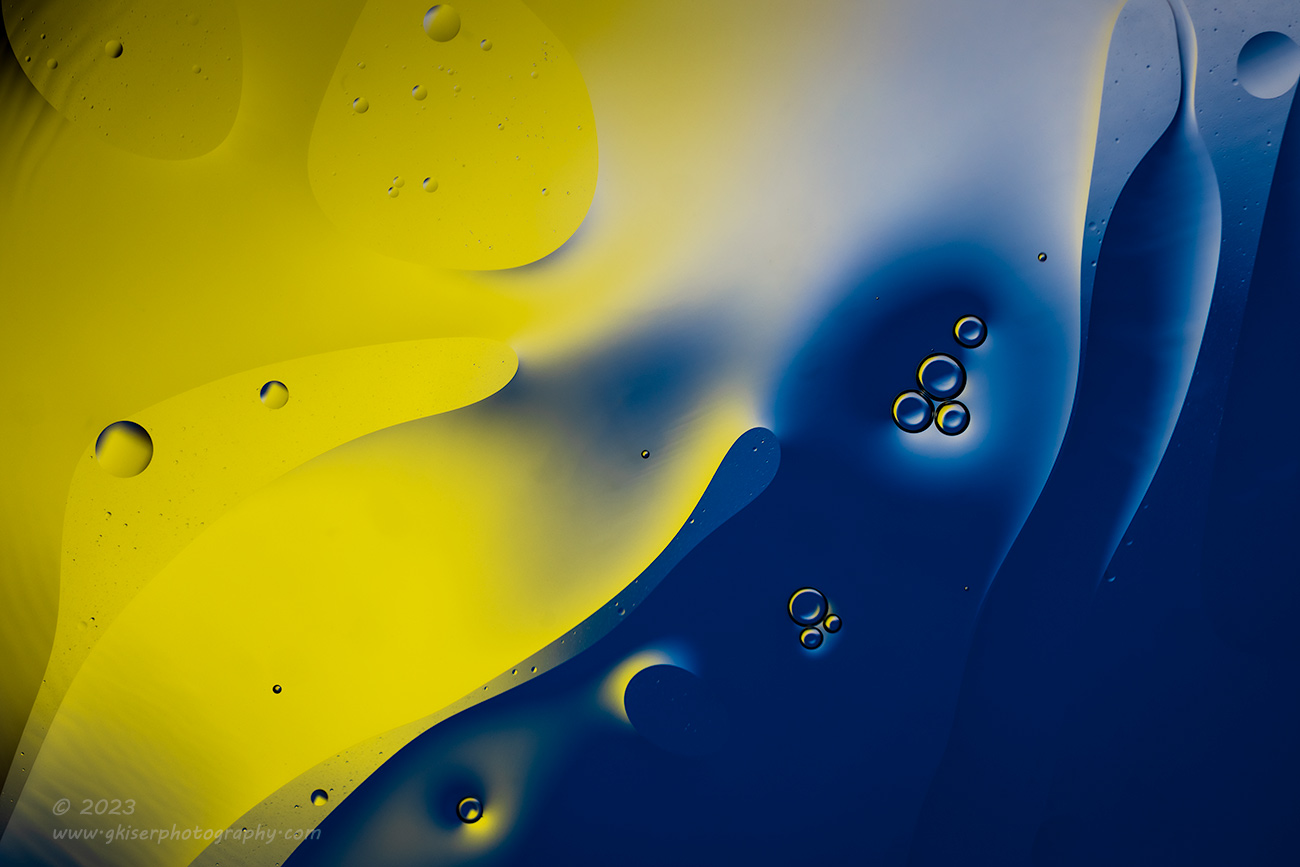
Speaking about the depth of field and what was sharp in the frame. I had no problems with depth of field, but the few areas of softness came from a different kind of mistake that I made. I was anticipating limited movement within the bowl, so I set a shutter speed of 1/250 of a second which should have been sufficient to capture a shot without any motion blur. However, as I found that the oil didn’t like to maintain shape all that well, I had to move faster than I was planning. This involved stirring quickly and grabbing the shot the second that the straw came out of the water. I saw no issues with this in the image review, but when I pulled the photos up on the larger screen, I could see that there were some areas where I could just barely see movement. It wasn’t enough to kill the photo, just something that I needed to remember for the next time. I think speeding the shutter up 2/3 of a stop will probably get this taken care of without any problem. I still had the wiggle room in the ISO to be able to do that as I was shooting around ISO 640 most of the time which is nothing for the EOS R5.

Having to move the oil so quickly had other ramifications that I was going to have to deal with in post. I definitely don’t recall having this issue before, but the fast stirring made for a lot of very little bubbles which formed in the water. The way that things were lit, these bubbles rendered as solid black orbs in the frame. The faster I stirred, the more of these little dots happened. In the worst cases, which affected about half of the images, there were just too many to count, but I suspect that there were easily 500 or more of the little dots. These had to be removed which was done by hand one by one at 100% zoom into the frame. Each of the worst offending images took about 30 minutes to remove the spots. After going through 19 different images at 100%, my eyes were going crossed, and I was seeing spots with my eyes closed. There was no way around this though as those spots were too distracting for the overall image in my opinion. Since this was art created in the studio, there were no rules about how I processed the images which left me feeling nothing but boredom at doing the chore. I usually feel guilty for doing that much manipulation on an image.
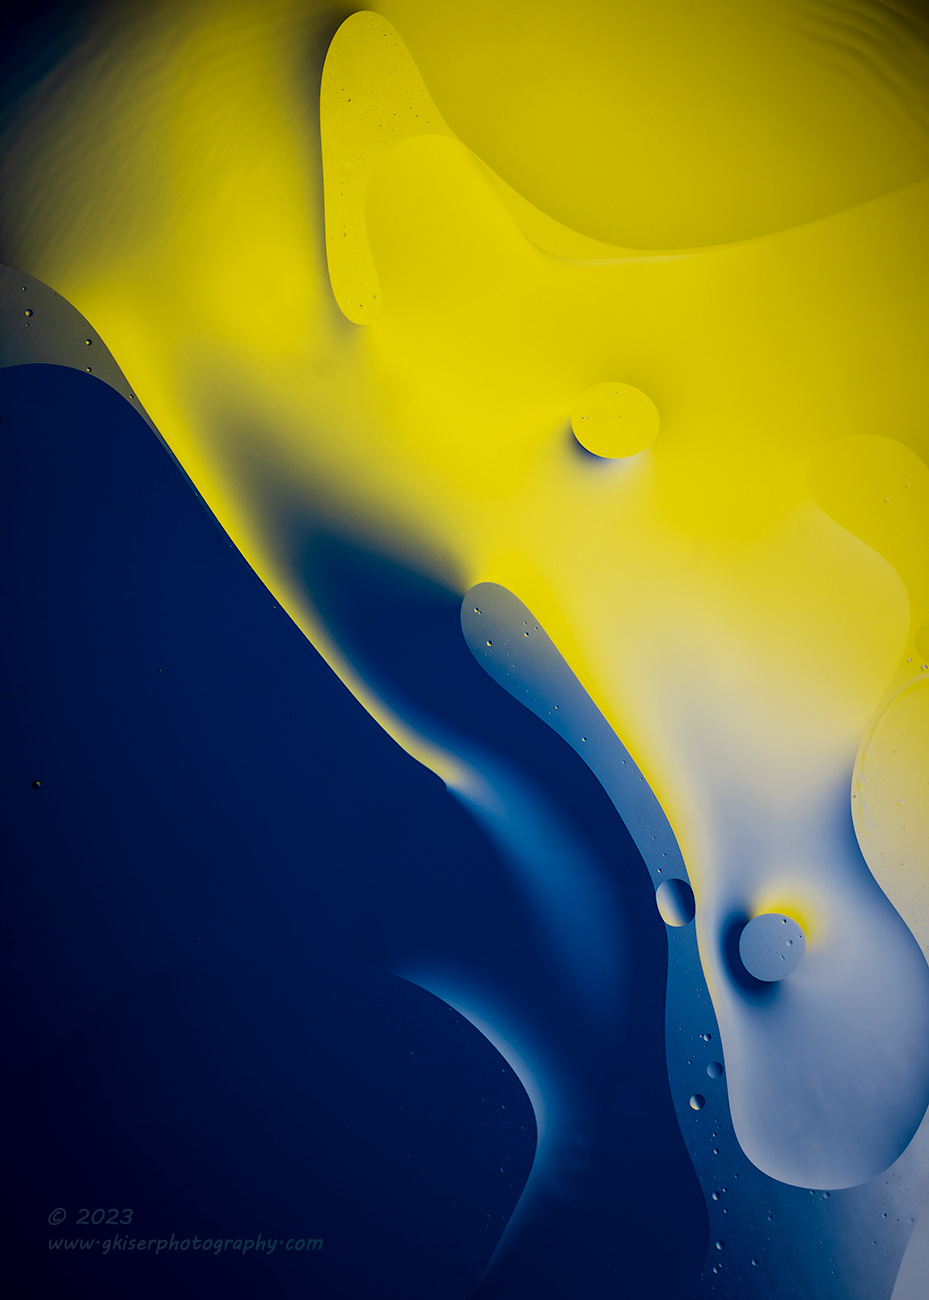
In addition to the little black dots on so many of the images, I was also plagued with dust and small hairs that were falling into the bowl. This was not something that I recalled having to deal with the first time I did this technique. Of course, that time, I had been using a wider-angle lens without the full macro capability that I was enjoying now. The hairs might have been there, and I just never noticed them. This time, they were noticeable and in a big way. That was something else that I had to clone out to make the photo workable in my opinion. Those took much less time than all of the black dots, but they had their own concerns since the hairs tended to find their way to the edges of the formations in oil. This proved difficult to clone out in several situations forcing me to remove a bubble that otherwise would have stayed. In some cases, I just had to work very carefully to get the hair removed without disrupting the shape it was attached to. It was this and the black dots that really slowed down the editing process for me and added a lot more time to this venture than I had expected when I started out this morning.
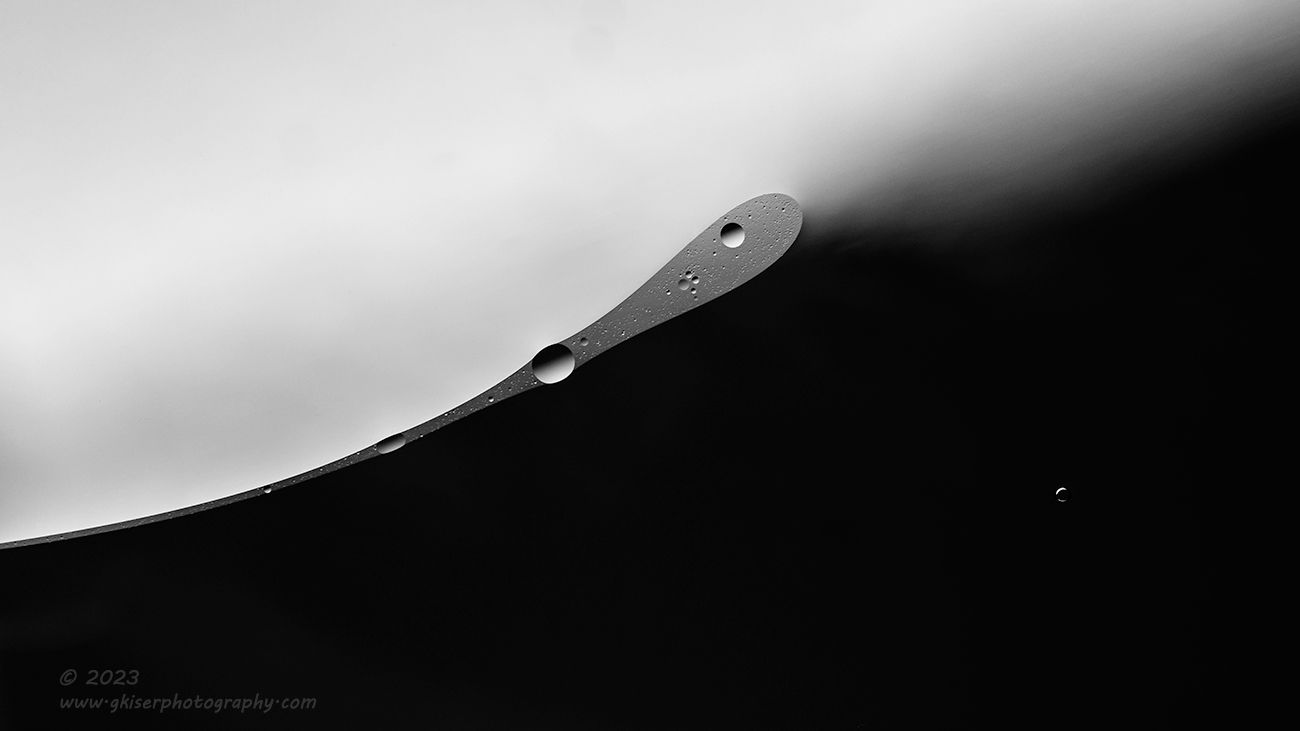
Overall, the basic edits went very quickly. There was little to no need for any local adjustments, and I was able to do pretty much everything globally. Once I landed on an edit that I liked for a particular color combination, I would duplicate the settings onto the next image of similar colors. This would get me 90% of the way to being finished with the edit in a single click. After a made a couple small tweaks and did a local adjustment or two, I was done with the basic edit. This it was time to start removing the spots, dust, and hair. This process made me really wonder if I needed to clean the sensor on my camera, but the spots were always in different locations, so it was all part of the subject that I was shooting. That made me feel better, but I was still having to do a lot of work to get these images ready for release. I’m glad I had the time to sit down and get it all done.
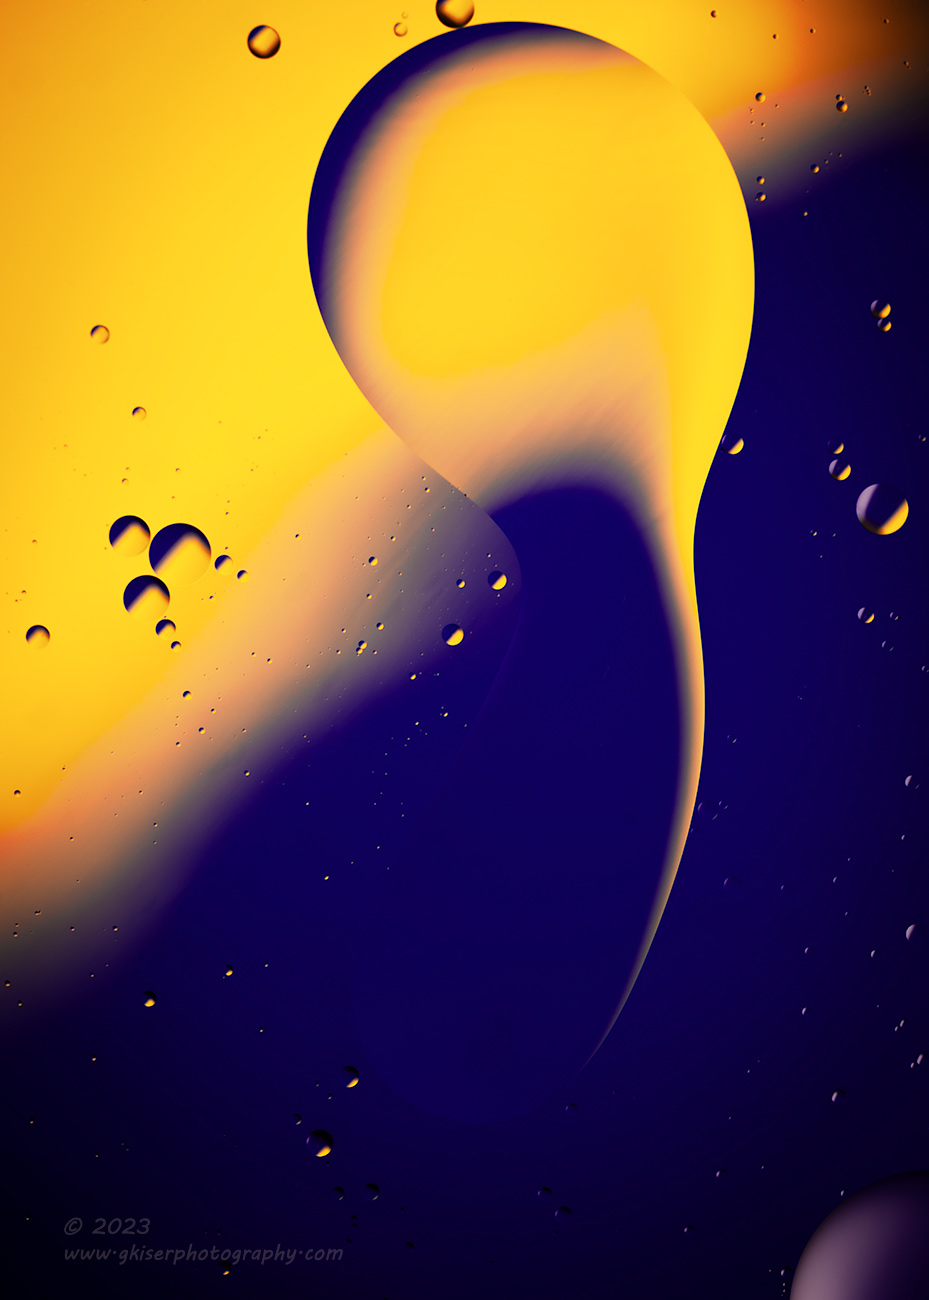
I remember thinking while I was actively shooting this that for many photographers out there, this is the time of year to do this type of work. With the rain and cold of the season, it is just not all that fun to be outside. Even I’m finding it hard to get motivated to go out this year since it turned cold almost overnight. I haven’t had the chance to build up my winter skin yet and I would rather be in the house staying warm. As I wrote about not that long ago though, I don’t believe in hanging up the camera when the weather gets cold. I have two different locations in mind for treks in the near future which will take me outside and I’m looking forward to working the subjects. For right now, I was inspired to shoot, and it just happened to be something that I could do inside. I think that this is the most important thing that we can do as photographers…shoot when inspiration hits. Far too often, photographers get caught up in being a certain kind of photographer and thinking that they can’t shoot anything out of that “norm.” I’m here to tell you that you are robbing yourself the ability to learn and grow as a photographer.
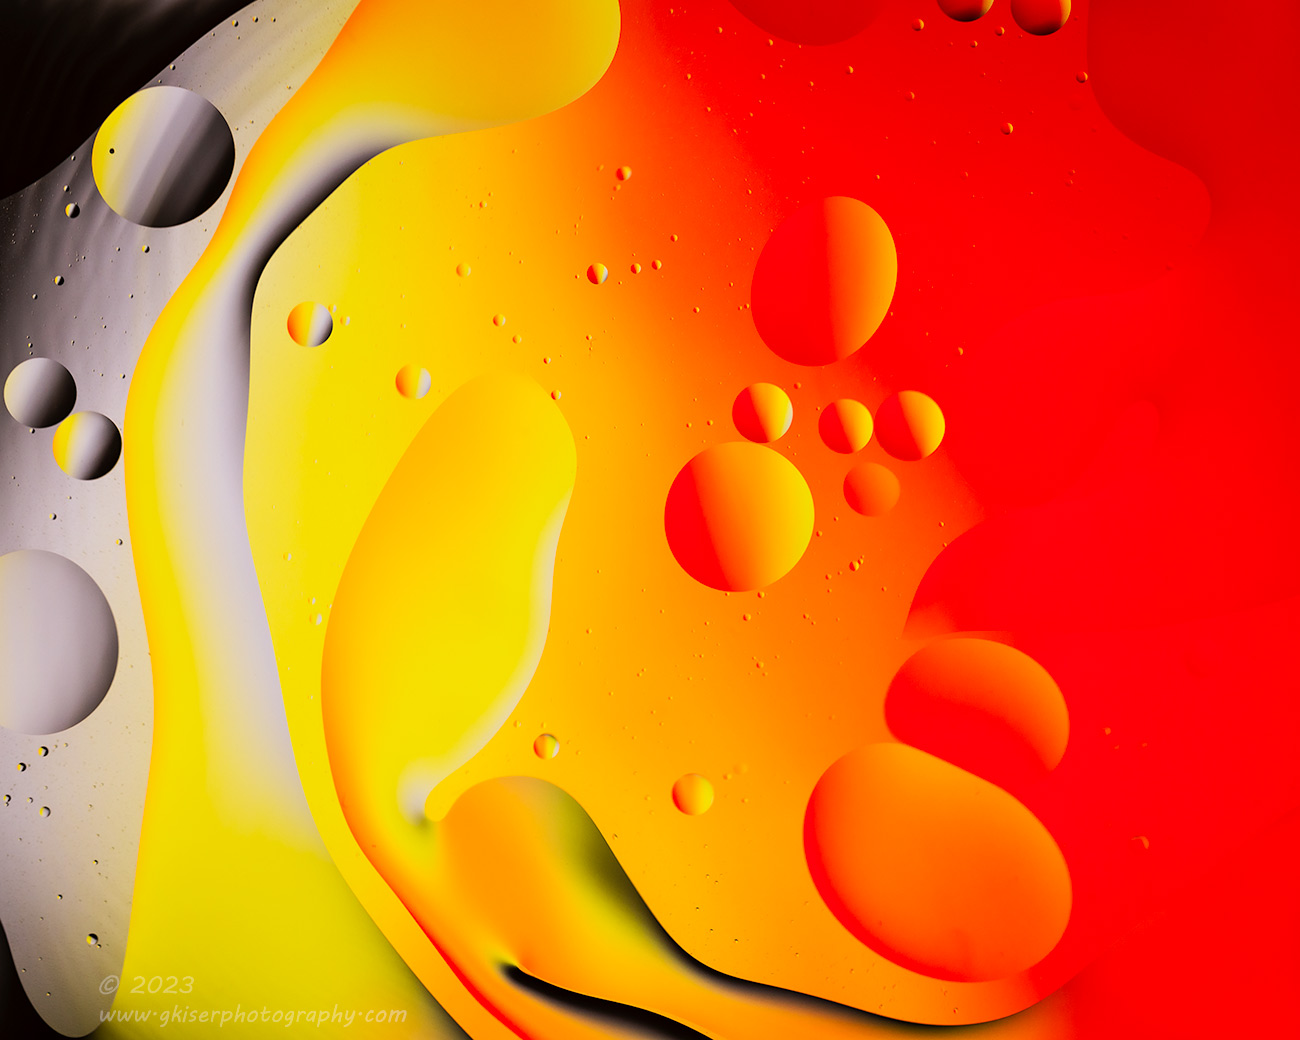
What you see in this blog entry has nothing at all to do with landscape photography nor decay photography. Those are my self-proclaimed disciplines and what I primarily shoot. Of course, you know I have officially opened the doors to different portrait services as well, but this has nothing at all to do with that either. This is all about studio created abstract photos which is not something that I spend a lot of time on. In fact, I know that there is a very high potential that this blog entry will fall into oblivion in a matter of days, and when it comes time to post these photos on social media, they will not get the likes or comments that I have come to expect from my images. None of that bothers me because I’m quite proud of these images and think that they represent a lot of personal growth in my photography. These are the photos that motivate me even though I know most will not understand why I shot them, nor appreciate the final products as I do. Again, this is personal growth for me as a photographer because I just don’t care. If you like them, that is great, I would love to hear how these photos have affected you. If you don’t like them, I hope that you choose to come back to see the next batch of photos that I capture as the safe bet is they will be more of what I am more known for. I hope that you like those better. In either case, I have created a body of work here that effectively communicates what I was wanting to share, and that is something that impresses me.
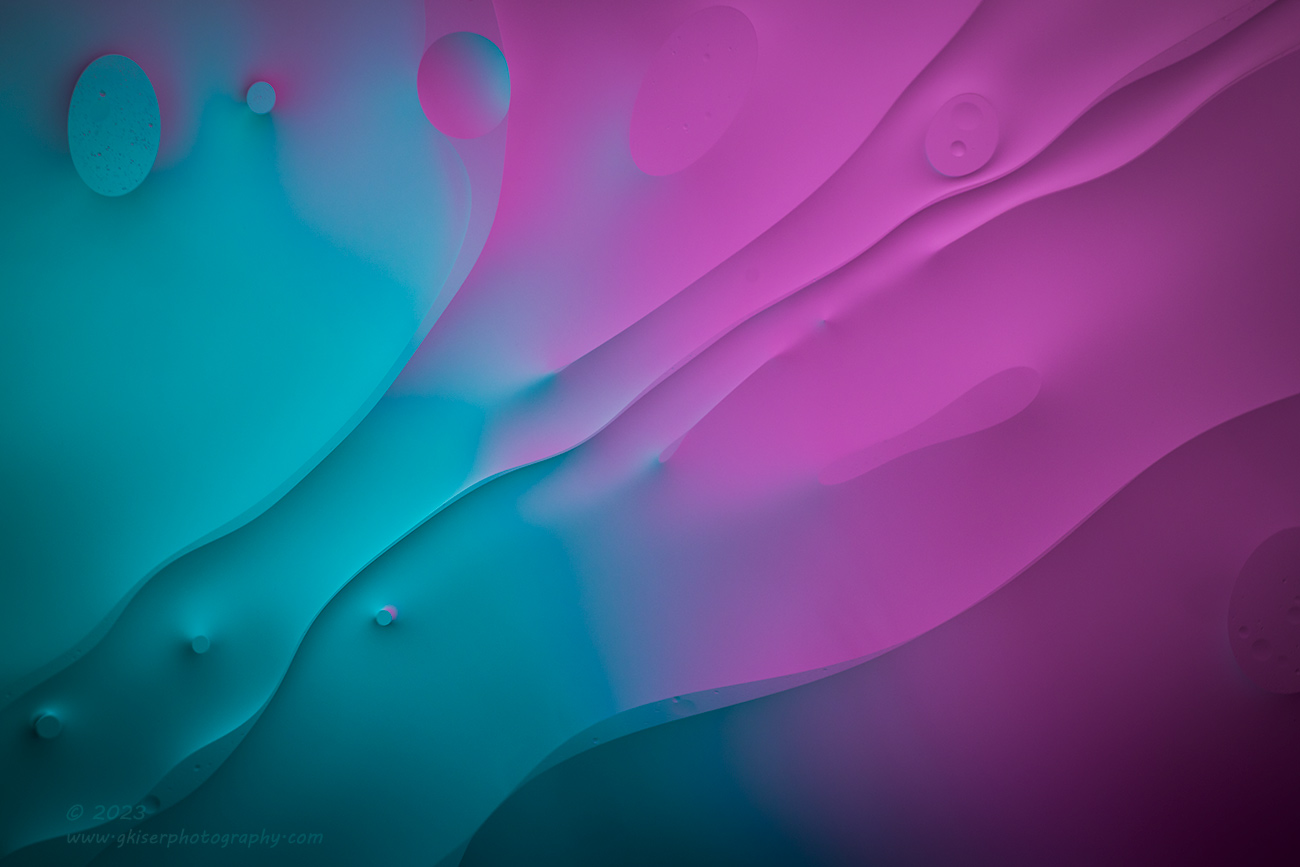
If I’m really lucky, I will inspire other photographers to give this technique a try during the “off season” of photography. It is a very fun technique to try and there are tons of options as to how you can set things up. The first time, I used a desk lamp if memory serves. This time, I used a constant LED light, but could have just as easily used flash, or studio strobes. This can even be done using natural light from a window. As long as you have even lighting, you are in good shape. Just make sure that you keep your environment clean or be prepared to do some heavy cleanup in post like I did. Other than that, this is a very simple type of photography to do. It will help teach you about depth of field, color theory, focus, stopping motion, and how light affects things. Let’s face it, learning new things, or firming up concepts that you already know is always a positive outcome. I learned a lot during my time with this project today, and the things that I learned will likely affect my other photography at some point down the road.
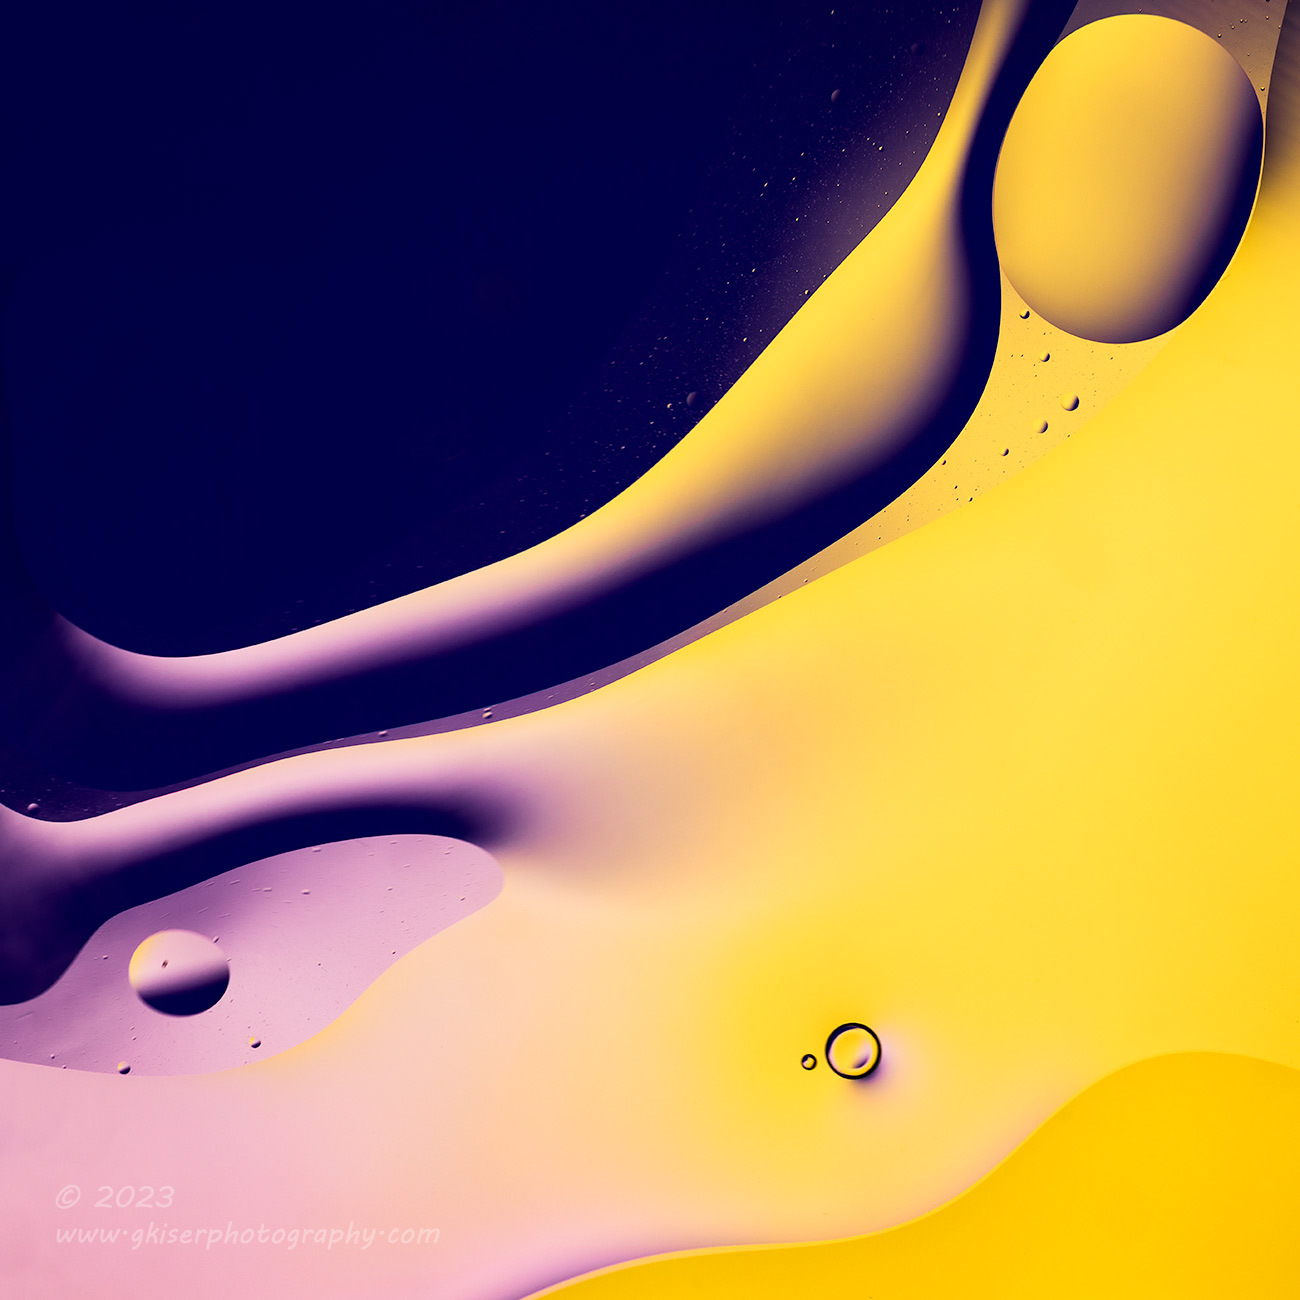
One other thing that I have forgotten to mention that came into play with these photos is how I composed the photos. The composition with these images represents a three-part ordeal. The first part was done before the shot where I chose the way that the colors were broken up. I usually went for diagonal lines and tried to avoid having the join lines run to a corner. I just balanced the visual weights of the colors keeping in mind that generally the darker color has move weight to it so I kept that in the smaller proportion most of the time. The second part came when I was stirring up the oil. I would create shapes that interacted with the division line of colors to make for a bit of visual interest before I would snap the exposure. The third part came at the end of the process and usually at the end of the edit.
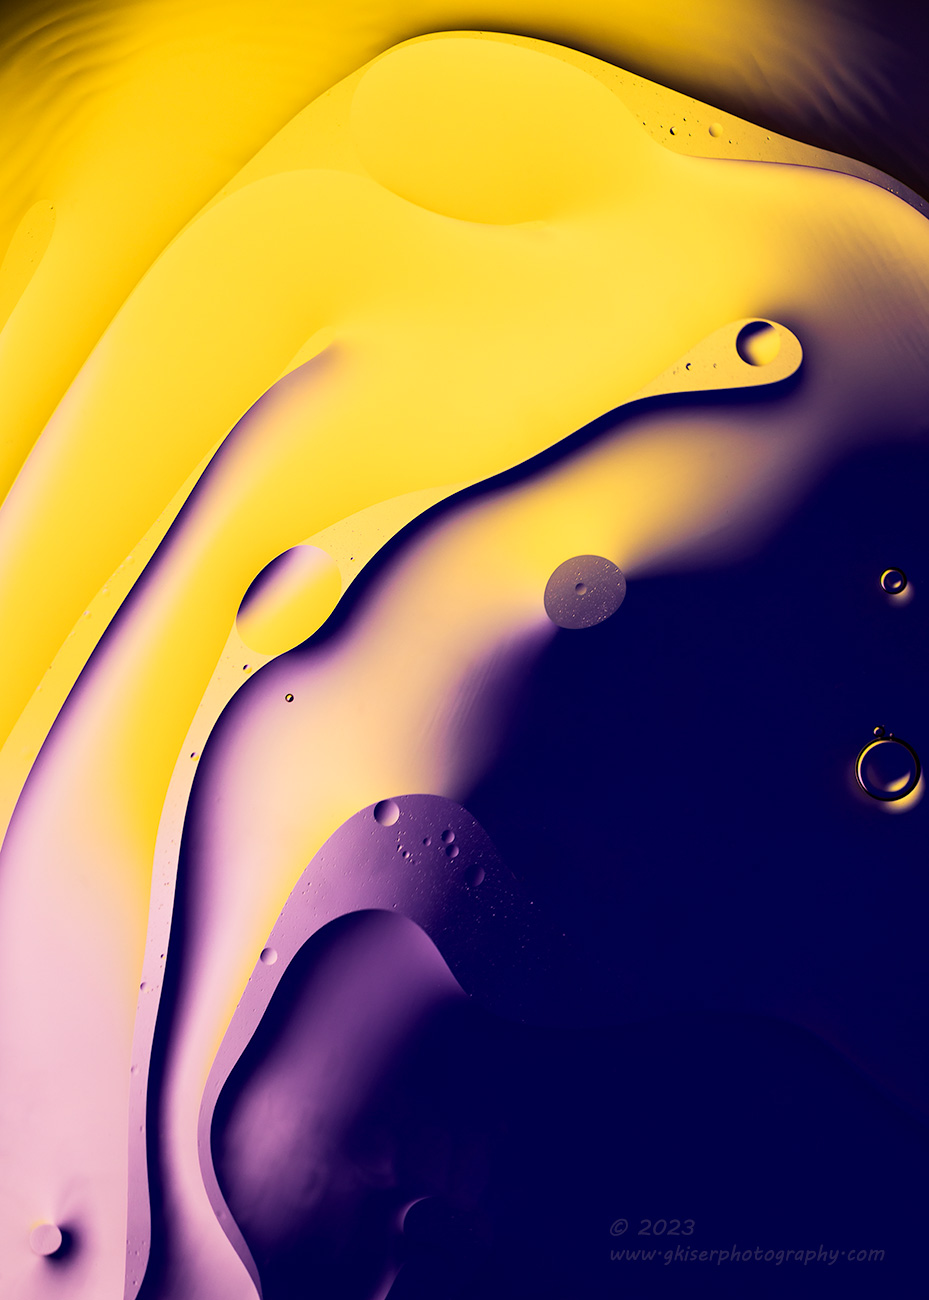
I’ve talked about my culling process here before, and that process was the same with this batch of photos. I went through and awarded a single star to images that were sharp and had an interesting look to the shapes. The two-star batch showed more interest than the others, while the three-star batch made me feel something to look at the photo. It might have been a recognizable form within the frame, or it might have been just a feeling based on the colors and shapes. Those are the ones that I would edit. Once I had the edit where I liked it, I started to play with that third area of composition. This is where I would flip the photo left to right, top to bottom, or rotate it around. I did this to find out which direction it read the best in. There is no up or down in abstract photography, and there was nothing about the way that I captured the photo that would dictate any “proper” orientation. This left that valuable bit of the puzzle completely up to me. The vast majority of these photos have been flipped or rotated to some degree from how they were loaded into Lightroom.
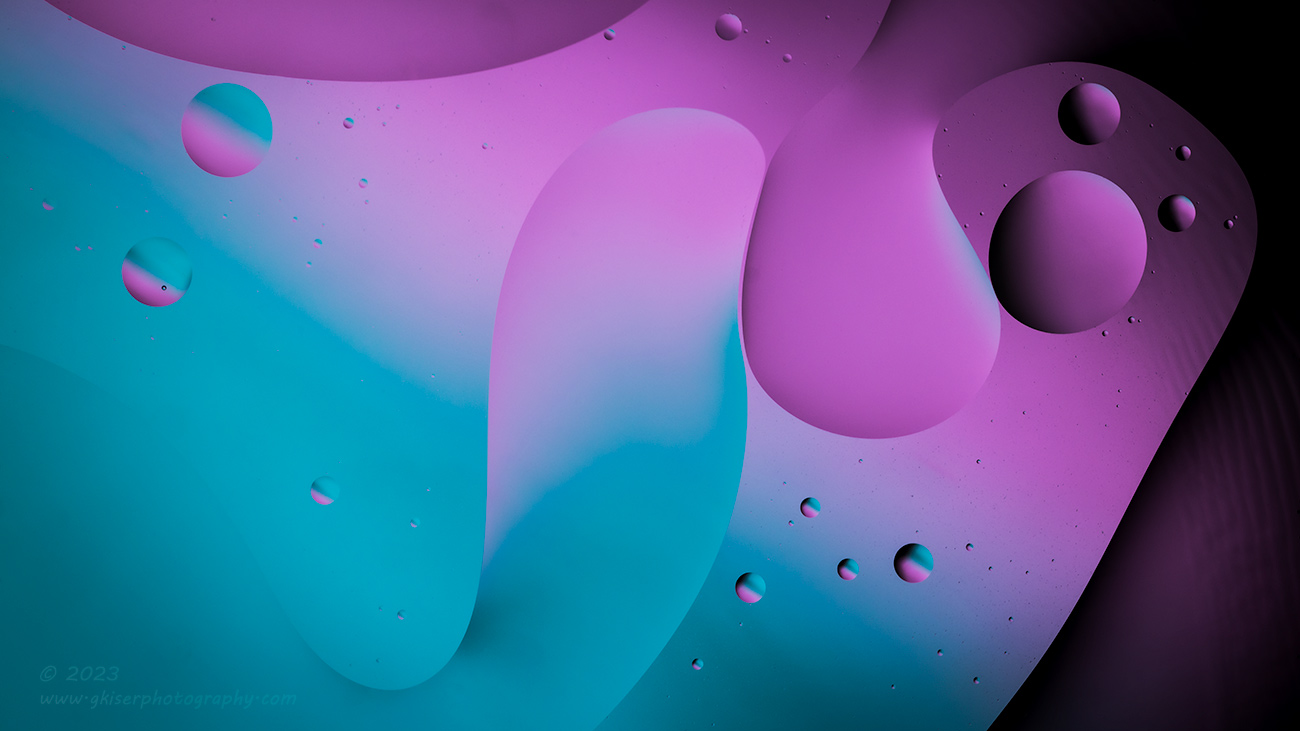
In addition to the rotation of the images, the crop also has a lot to do with the final composition. This doesn’t mean that I went in a cropped out a small portion of the image file. Nope, that is not something that I like to do. When I talk about the creative crop here, I am referring to the final aspect ratio of the frame. The native ratio is 3:2, but I looked at all of these in 4:5, 5:7, 3:2, 16:10, 16:9, and 1:1 square to see what the best option was. I kept one dimension the same as captured because I would shoot the photograph when I had enough interest to carry a photo through the entire frame. I didn’t toss pixels because there was only interest in a small portion, the pixels I tossed were because the composition would be much stronger with a different aspect ratio. I don’t have a problem doing that, not a problem at all.
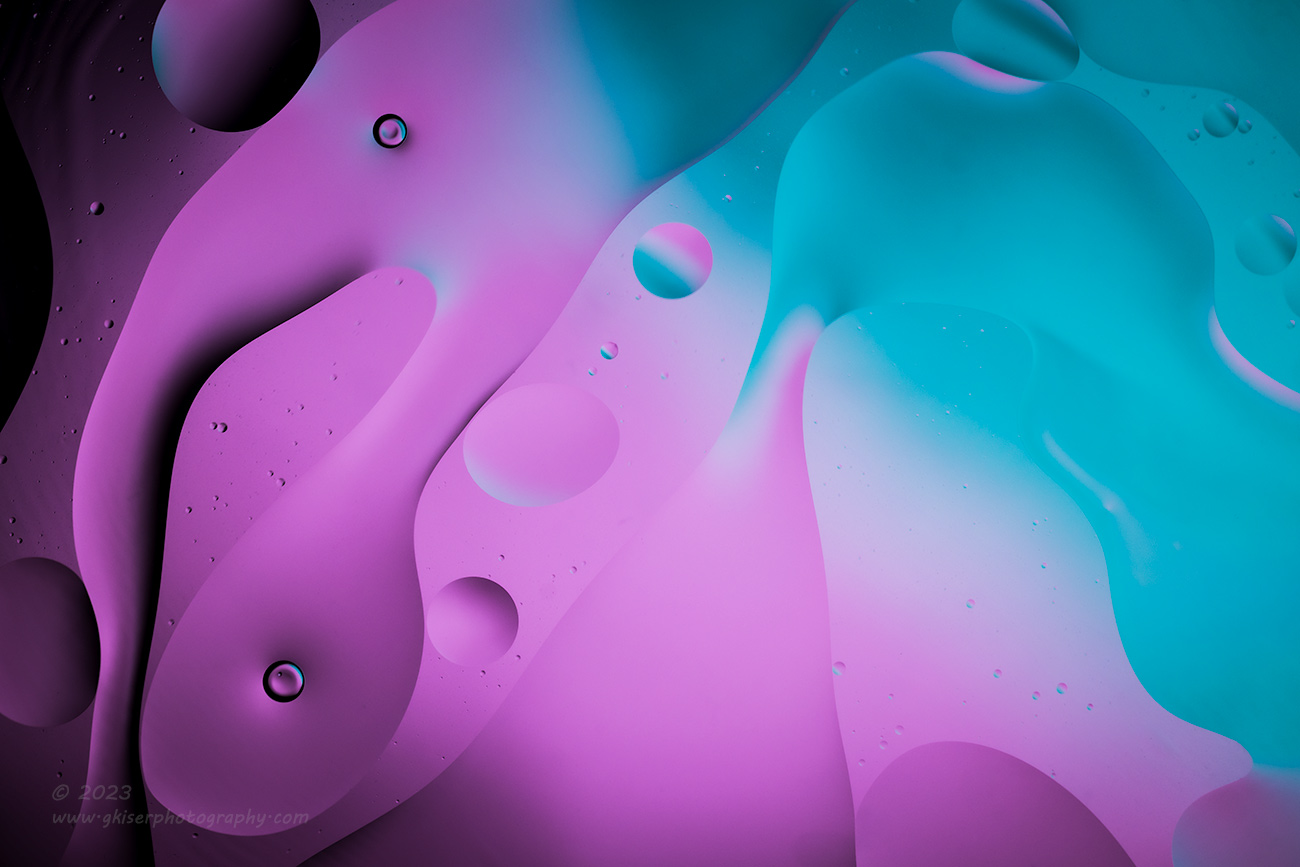
So, what are your thoughts on this technique? Could you do it? If you consider yourself a photographer but said no, I would have to disagree with you. This is certainly something that you can do. The question is, do you want to give it a try? I’m happy to help you out in your quest to photograph oil and water through one of my many mentorship programs. I could have you photographing oil and water in just an hour. Add another hour of learning to do the post processing and we are all done. It really can be that simple. Of course, you can also just play around with things and figure it out for yourself on your own time. There are benefits to both methods, it just comes down to what you feel most comfortable with. Just don’t tell yourself that you can’t do it, and that goes double if the reason you can’t do it is because you are a ___________________ photographer that only photographs ___________________. There is too much beauty out there to not photograph something because you aren’t that kind of photographer.
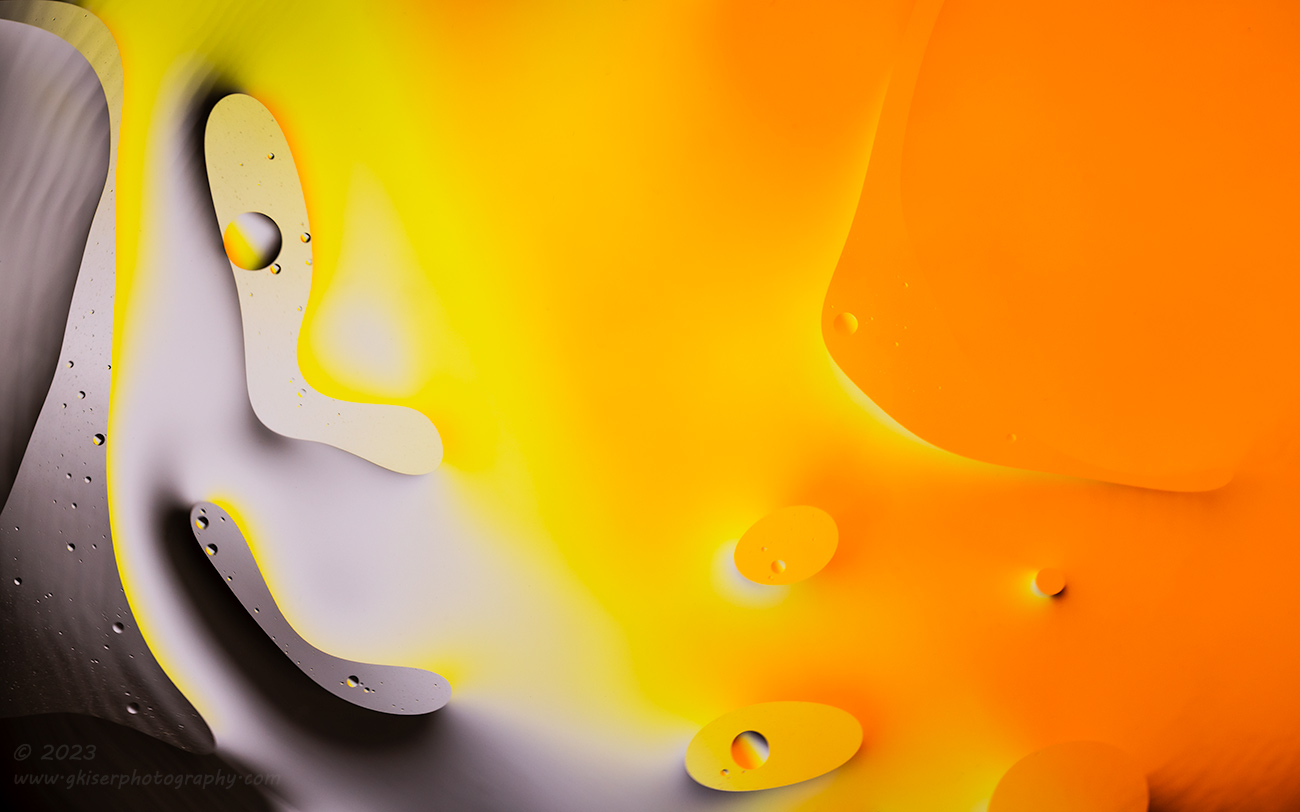
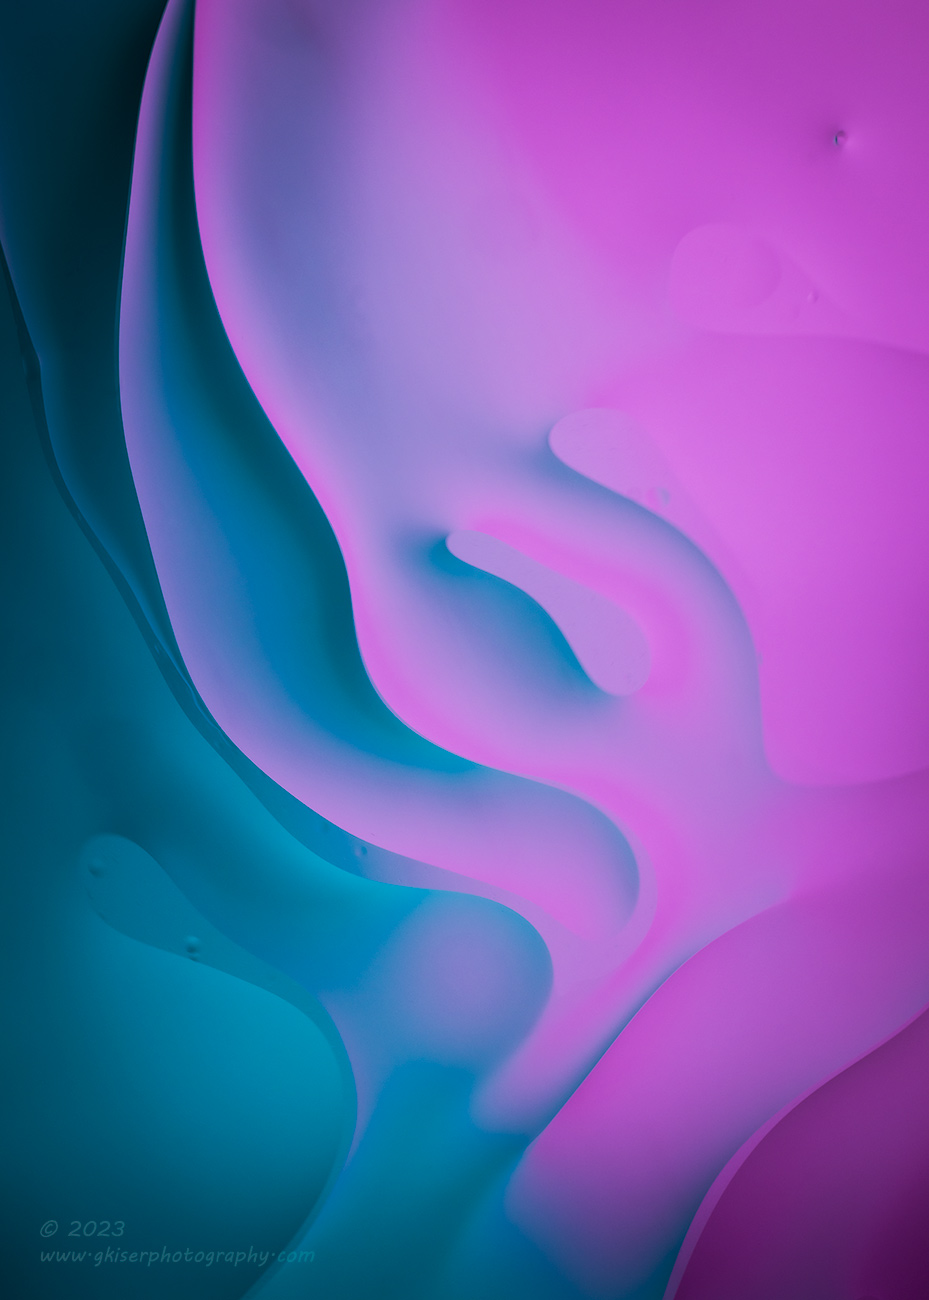
How about for you non-photographers out there. Did you enjoy this studio session and the photos? Do they still have that look that identifies them as “my photos?” I think that the use of colors and the clarity of thought in the photos is right there with my personal style. Is this something that you could see on your wall? If you could, please consider purchasing one, or more prints of these photos. I would love to see some of these printed out large and placed on display. I was reading not that long ago that the kinds of photographic prints that sell these days are the ones that are more or less abstract in appearance with colors that fit the space. Did I create these for that reason, not at all. However, now that they are created, I see how they fit that particular concept and could see them in a very modern decor. Maybe you have that decor, and need that perfect accent piece over the furniture?
If your thing is old rusty cars, don’t forget that my first workshop of 2024 has been announced and it will be a full day photographing rust, and a follow-up day with a virtual image review and discussion with all the participants. The format has been changed a little bit for this workshop and we will be working less at capturing the entire vehicles and spending more time shooting abstracts and isolations. I’m going to try and move the group away from shooting the simple snapshot, although we will still be doing that to a point. I’m wanting to really focus on the artistic end of photography with these great subjects. Whether you are new to the hobby, or a seasoned enthusiast, I will push your creative limits with this workshop. The end result should be making you a stronger photographer and be just that much closer to your own personal goals.

Thanks for joining me on this trek. It was supposed to be a short one, but it has not lasted for over 12 hours. After shooting 121 frames, I have 19 keepers out of the bunch which is incredible considering I’ve only ever done this technique once before. I hope that you enjoyed it, even if these aren’t your kind of images. I like to shake it up from time to time to keep things fresh, and new skills coming into play. I hope to get out to East Bend soon to get the two locations shot. There are about a half dozen or so cars between the locations that I am really interested in photographing. Stay tuned to see how I wrap up the year. Also, watch for my 12 most significant images of the year to be published between Christmas and New Years. I’m just now starting to work on that list, and there are some very strong contenders for it this year. Check it out to see if your favorite images made the list or not.
Until next time….