Monday, June 28, 2021
June has been a very quick month for me. It seems like just yesterday that I was publishing my last Behind the Camera and getting things started for a new month. I spent the first bit of this morning getting my newest Behind the Camera finalized and ready to go on Thursday morning. This one was a fun one as I was taking several questions from Facebook and doing a quick answer on them all. I’m really excited to get this one out there for you to read and hope that it will give you some more insight into what makes me tick. While I was going through that entry, I was getting myself into a photographic mood and I wanted to get the camera out and do a little photography. The problem was, the weather was pretty much clear and I wasn’t really looking forward to fighting the harsh sunlight to get any pictures. I could have waited for the evening, but I wasn’t really convinced that the conditions would be that much better at the end of the day either.
I was kind of stuck. I was feeling creative and I wanted to get the camera out to capture something. I went through some different scenes that I have in my head, but none would work with the existing conditions. I started to think about some studio work which I have started to get back into here lately. I was remembering my fresh edits of some smoke photography that I had done earlier in the month. That had gotten me wanting to do some new images with the new camera using this technique. I had been putting it off for a while because there were still some things that I wanted to figure out before I started making some exposures. I was familiar enough with the methods of doing this, but I wanted to figure out how to make the images stand out a little more.
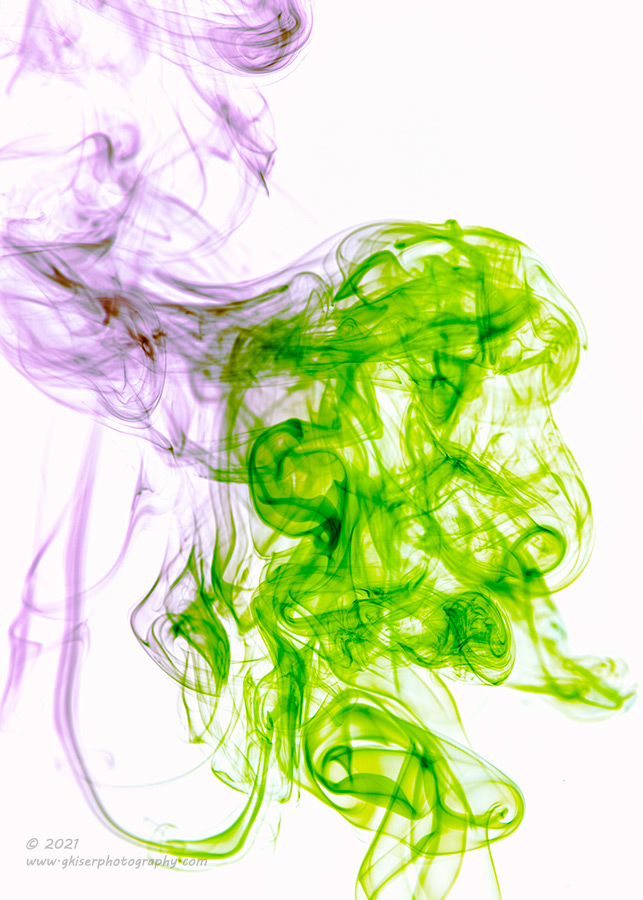
My first instinct was to use double lights to get more contrast with the smoke, but the more I thought about it the more I really wasn’t sure that it would make that much difference to the final image. The smoke was pretty translucent and I doubted that any light was really blocked by the nearer edges of the smoke. Sticking with a single light source was probably going to be my better option for this. Having gotten more familiar with flash photography over the last few weeks, I was pretty sure that I was going to be able to work the lighting better even though I was using the same setup as I had done before. In fact, the only change in my equipment from the last time I did this was in the camera body. I was using the same 24-70mm lens and 600EX-RT light with an ST-E3-RT transmitter. I knew that all of this worked very well for this type of photography as the lens has a slight macro capability which allowed me to get in very close to the smoke in order to fill the frame with visual interest.
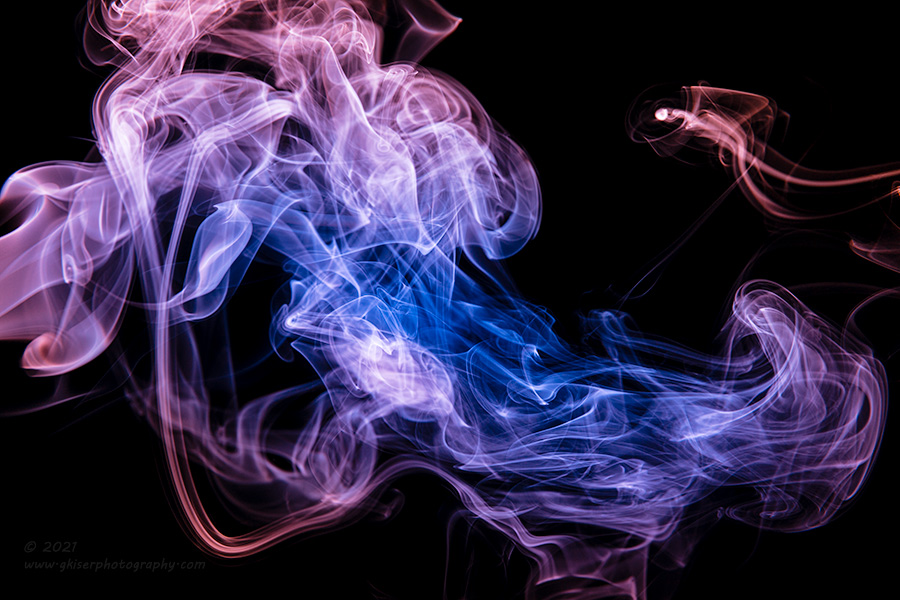
Unlike the last time I set up a studio shoot here, I had the proper light stands which helped tremendously in order to aim the light just where I wanted it. That allowed me to get the flash in portrait orientation to illuminate the rising smoke more evenly. I set the flash to 135mm at 1/4 power which would focus a good deal of light right where I needed it. In order to avoid any light spill from the flash, I cut up an old Canon CPS folder and made a custom flag for the flash head to keep any stray light from the background or the camera. I elevated the flash to right where I expected the smoke to be interesting.
The smoke generator was set up on a high tech, industry standard, TV tray. By smoke generator, I am referring to a simple incense cone which was set on a candle lid for safety. There was really nothing special about the setup of the subject. I do prefer using the cones as opposed to the sticks for the simple reason that they will burn consistently from the same location. With the sticks, you will have to recompose as the stick burns down. I also found that the cones provide a bit thicker plume of smoke which is good for filling the frame.
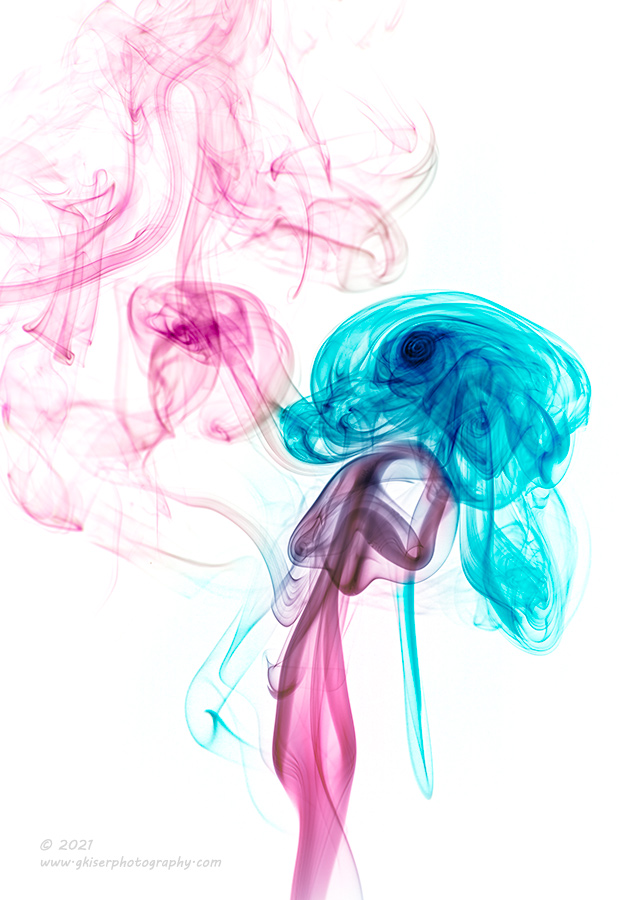
Setting the camera up took the most time though. I had it mounted to a tripod and placed roughly where I thought it should go. The goal was to get the camera level so that it wasn’t shooting the smoke at any angle. I set it up with the transmitter tuned to the flash, and put both the camera and flash in manual mode. The exposure on the camera was easy enough using the synch speed of 1/200 of a second. I used my base ISO of 100 for the cleanest image, and set the aperture to f/11 for a greater depth of field. My white balance was set to flash so that I got the most neutral image I could to start with. In order to focus on the smoke, I used a ruler on the same plane as the incense cone and manually focused on the numbers. I moved the camera closer until I was at the nearest focus point for the macro end of the focus ring. This allowed me to fill the frame as best I could so that cropping wouldn’t be too dramatic after the fact.
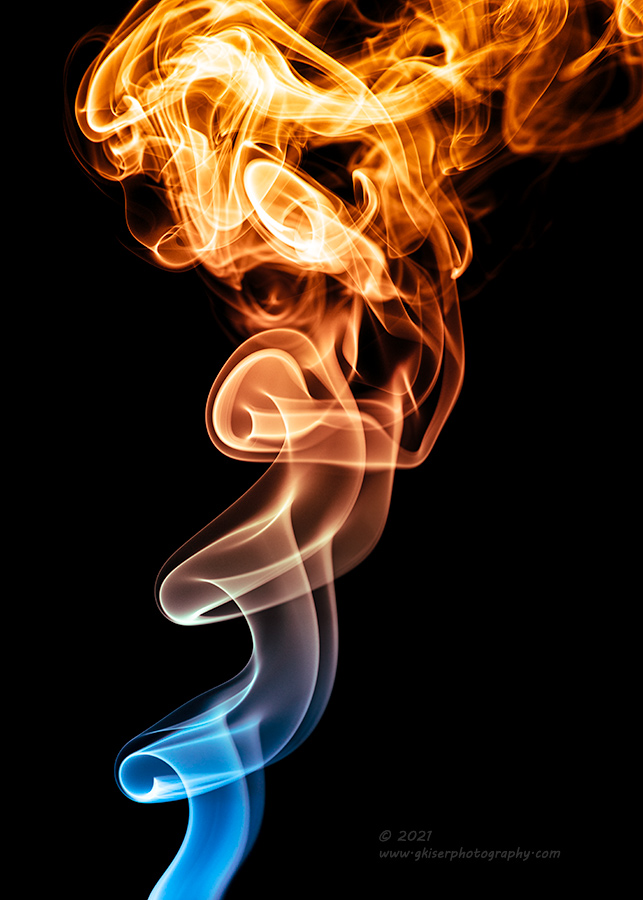
Once I had the basic setup all done and the focus was locked where I expected the smoke to be at its best, I turned off the bright lights and went with a few lamps for some dim ambient light. I tried a base exposure with no flash to make sure that the background was totally dark. Then I fired the flash to make sure that the background was still totally dark and that there were no strange reflections on the lens. When I was satisfied that the light was only going to hit the smoke and that my exposure was good, I lit the cone. That was where I ran into my first problem. Since the office is always very cold, I keep the vents closed in order to avoid any cooler air coming into the room. Even with the vents closed, the plume of smoke was rolling over to the right headed to the staircase. I had needed to use the bookcase near the stairs for the backdrop so that I had plenty of height to work with. I had the height, but the smoke was staying right next to the table as it moved away. I had to get rid of the directional air flow and figuring that it was the slight flow from the closed vents that was pushing the air up the staircase. I went upstairs real quick and killed the AC.
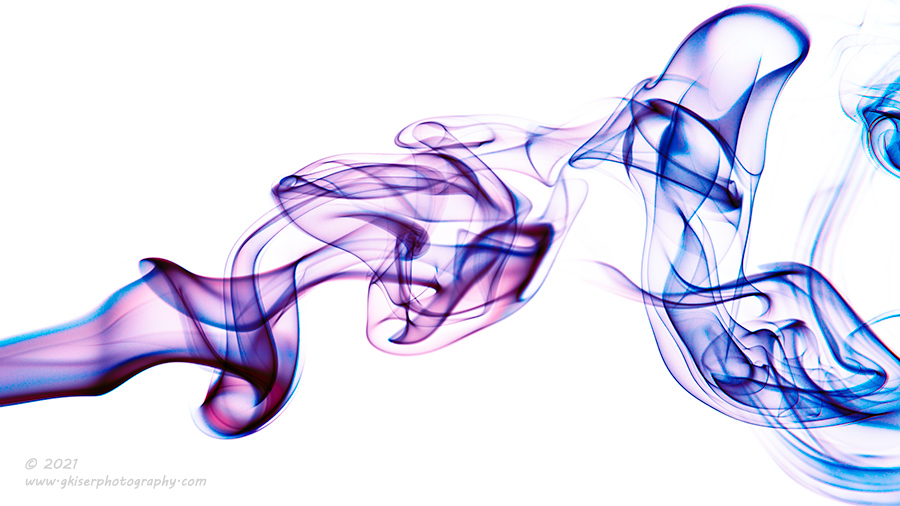
It took a minute or two for the AC to cycle off and then it took another minute for the air to calm down so that the smoke could proceed directly up which was what I wanted. I then took a test shot to make sure that the camera was in line with where I needed it to be. I happened to be off to the right just a little bit, so I adjusted the aim and then double checked again. I was right where I needed to be. I started to wave my hand near the smoke to get it to change up a little bit and then I started to get exposures made. I had to adjust the height of the camera slightly as it was just too high to capture what I was wanting. That slight adjustment did the trick and I was in business. I would do different things with my hand in order to get the smoke to respond in unique ways. I kept firing off exposures as I was doing this. The histogram was looking good on the back of the camera. There was nothing blown out which was my main concern and the background was still remaining black.
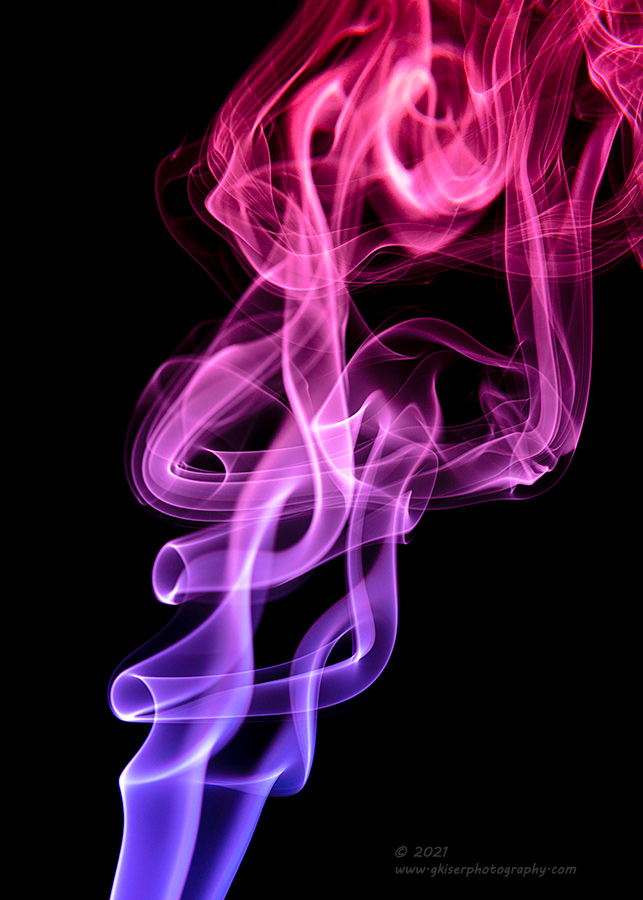
I recalled learning that another way to add disruption to the smoke was to tap the table. Since this was set up on a very sturdy and heavy duty TV tray, I tapped it with my finger. That had an immediate reaction and I watched to see what it would do. I found that I could alter the tempo of the tapping and make different designs appear. I started to do varying degrees of tapping rhythm as well as intensity. I would mix it up occasionally with a wave from my hand to get something different as well. I was finally in the groove and a couple of times beat the recycle time on the flash I was going so quickly. I was starting to have a lot of fun with this and before I knew it I had over 50 exposures. I knew that I was only going to have about 30 minutes worth of time before the cone finished burning so I just kept on pressing the button. I was getting some good images, but I was getting a lot more that I wasn’t going to be using. In order to make sure that I had several images to choose from, I wanted to get a lot of captures before calling it a day.
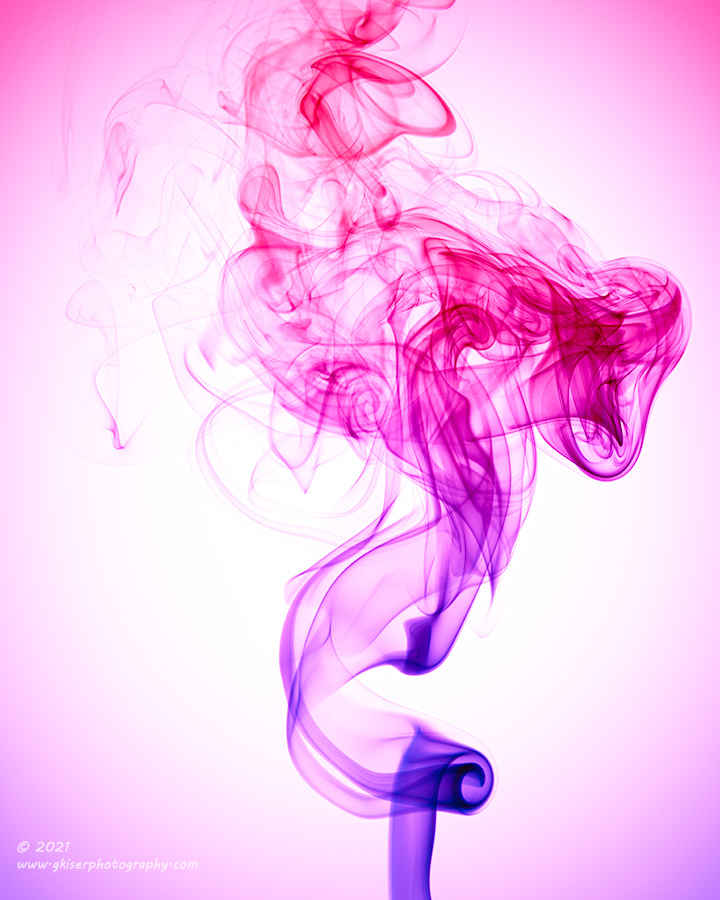
At the end of the 30 minutes, the cone was getting very faint and I could tell that it was about to be done. I had just over 100 frames captured which was about what I was expecting for 30 minutes of shooting. I knew that the vast majority was going to be a waste, but doing this type of photography is all about playing the numbers. The more you shoot, the more keepers you will have. I wasn’t sure what my hit rate was going to be with this set, especially since this was only the third or fourth time I have ever done this type of photography. For me, this was all about it being a learning experience more than anything else. If I ended up with anything good enough to share I would consider that a bonus.
With the incense all burned out I turned off the camera and flash and grabbed the CF card. I left everything set up in case I had made a fatal error in my methodology which resulted in unusable images. Hey, things happen and if there needed to be a change, I could just start up another cone easy enough and make whatever adjustments to the studio setup. That would me much easier than packing it all up and realizing that I needed to bring it back out again.
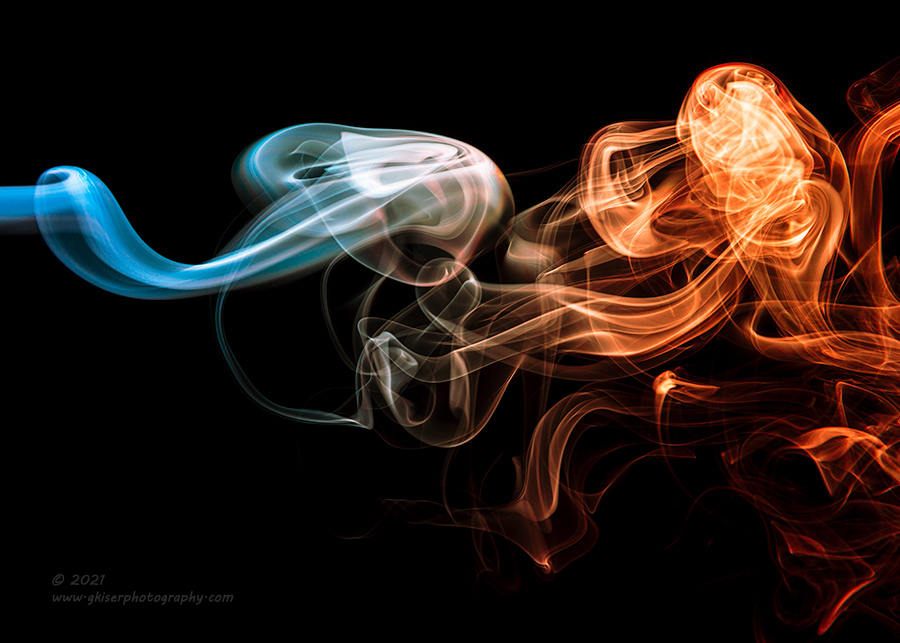
I imported the images into Lightroom and started to weed out the images that I didn’t like. Well, more accurately, I started to pick out the images that did like and that filled the frame with interest. I looked for shapes that meant something to me. I knew that most of the smoke photography like this looked for the elegant structure more than anything else, but I was looking for that abstract communication where I was able to see other subjects within the smoke. It became a lot like looking at clouds. I was seeing hints of shapes, and designs that made me think of of other things. What surprised me the most was that I had about 25 images that I liked enough to look at a second time. Knowing that I had that many images which were usable, I started to be a little more picky in my selection process. I was looking for stories in the smoke now. I wanted there to be something special about the image before I would choose it as a keeper.
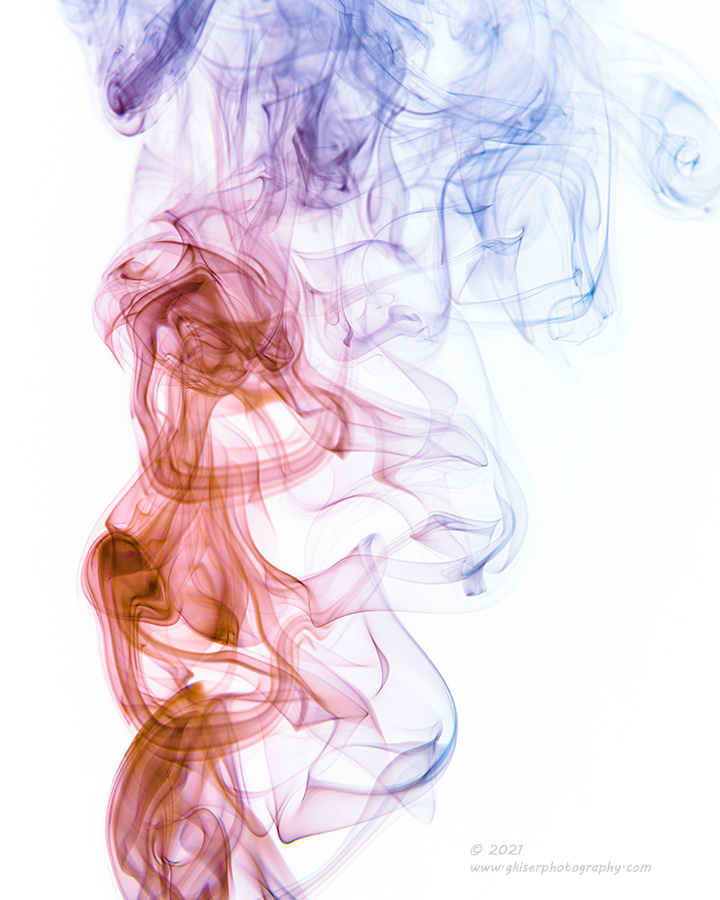
It was the last 11 images which I decided to do edits on and see what I had. With smoke photography, I’ve learned that the final presentation is probably about 30% capture and about 70% post processing. When you capture the image, you are getting a gray to white design on a black background which looks like smoke. If the design of the smoke is interesting, you can stop here and be happy with your image. You can also edit it to your heart’s content and allow only your creativity to limit you. As you will recall from my second attempt at the edits from the old smoke images I figured out how to use Lightroom to control the colors quite a bit as well as inversing the image to get a color negative. It was all a learning experience for me and an opportunity to see just how far I can take an image. Honestly, I thought that I did pretty well with them. The more I looked at the images though, the more I felt that they lacked something. They just looked like the rest of the images that I had seen online and in books. I really wanted them to stand out more than that in the crowd.

If the RAW file is the score and the processed image was the performance, I was wanting to give these images a chance to put on a grand performance. This was where I was going to set my images apart from the others. I had yet to really consider local adjustments with this type of photography, but here I was adding radial filters and graduated filters to the images to change the colors locally. I pushed the pixels to give the images life beyond what I had even envisioned at the time of the capture. The more I worked the files the more I was liking them. I was actually able to use colors to help tell the story that I was seeing in the individual images. The edits weren’t difficult, and they didn’t really take much time at all to do…at least in comparison to my normal images which I’m getting consistently around an hour in editing time each.
I realize that these images may not be to everyone’s liking since you are accustomed to me creating images of rural scenes, decay, and landscapes. There are times when I have to cleanse my creative pallet and create something that I haven’t done before, or in a long time. It opens my eyes to other ways of seeing and expressing which is a very important part of my artistic journey. It also allows me to feel more like a visual artist when I’m getting very used to seeing the same types of images roll through the computer. This was a very fun session for me to do, and probably the most fun I’ve ever had shooting smoke. I’m really excited about the edits and the stories that they tell.
If any of these jump out at you, I would love to help get you matched up with a print of your very own. You can email me, or order directly from my gallery store. If you are interested in more information on how these images were created or processed, let me know. I might decide to do a bit of a tutorial on this with a future Behind the Camera, or I might try to figure out how to do a mini workshop on the subject.
Until next time…